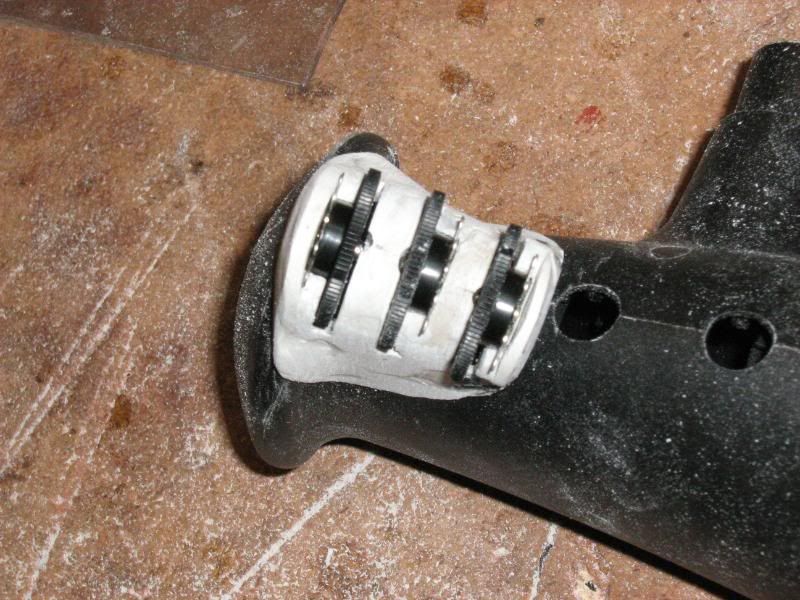
Creating the Slots for the Wheel Pots
Cutting the slots and getting them nice and square is the trickiest part of this project.
We begin this process by extending the plane from the inside edge of the knob on the PT so that we set our wheel pots along that plane. It is tempting to set the wheels perpendicular to the plane of the handle. Be careful not to do that. The wheels should be set parallel to the knob on the end of the throttle not the diagonal plane of the handle. To accomplish this, place a ruler along the ridge in the throttle knob and extend that line out across the body of the PiggyBackTrim.
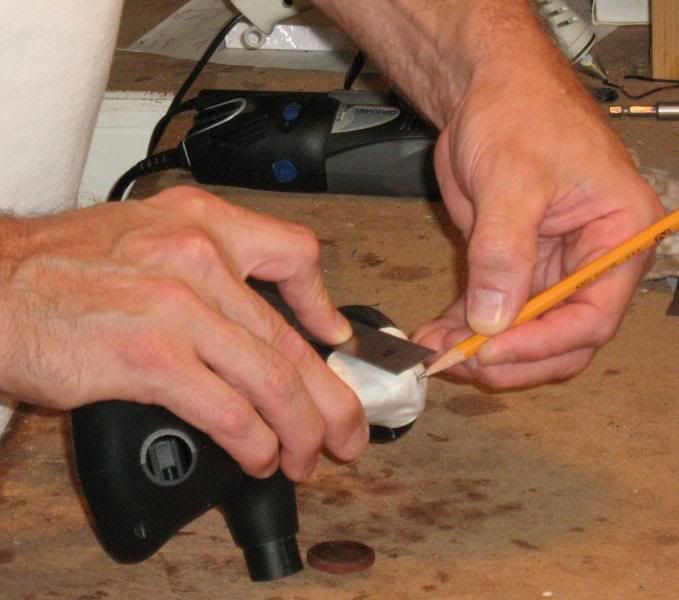
Next, using the center of the button holes as a guide, strike a center line down along where the wheel slots will be cut.
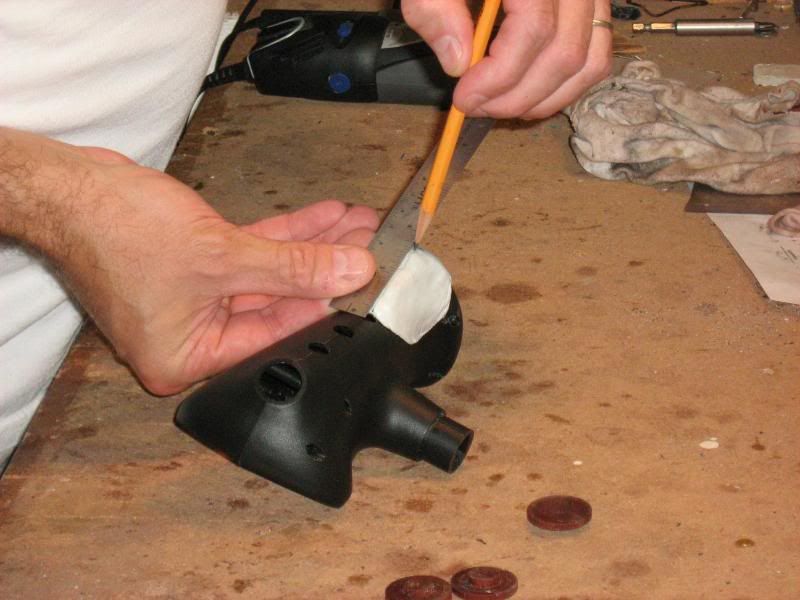
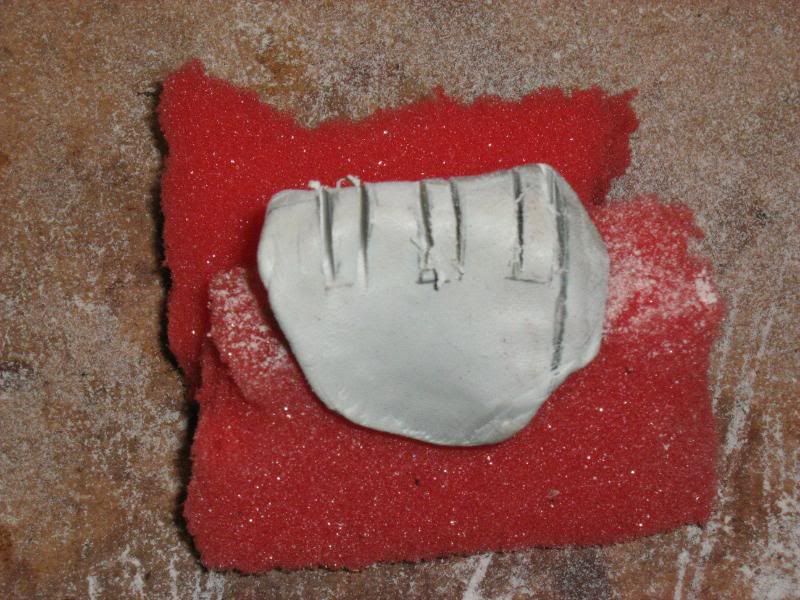
Now we can use the template we cut out earlier to mark the postions where the slots will be cut out. Notice the line that extends the knob plane. This line is the plane that all the wheel pots will be positioned on.
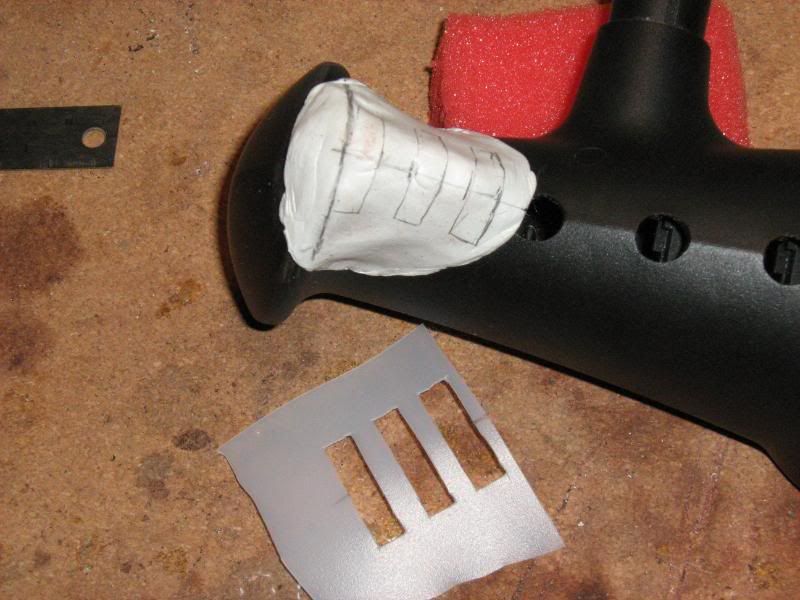
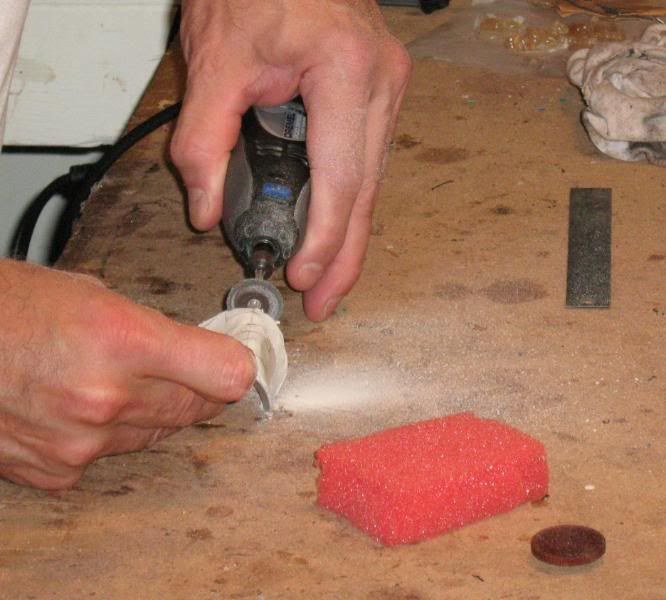
Notice that the emory wheel could not cut the slots very deep. We'll have to finish the job by hand.
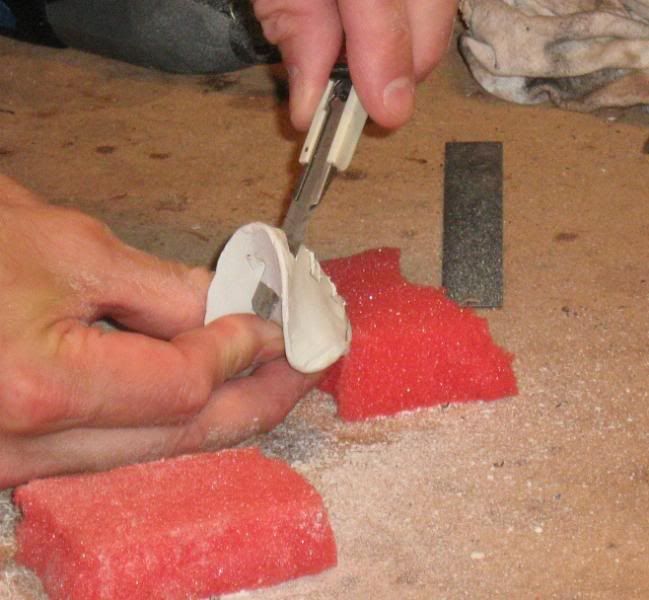
Use a razor knife to finish the cuts where the emory wheel could not reach. You want to cut the slots completely through.
Completely cut out one of the slots and place a wheel pot dummy in place and check all angles to make sure it is aligned on each plane (knob end, center line, and center line perpendicular). Adjust the slot by trimming it out as necessary. It is important to get these three axes of alignment right.
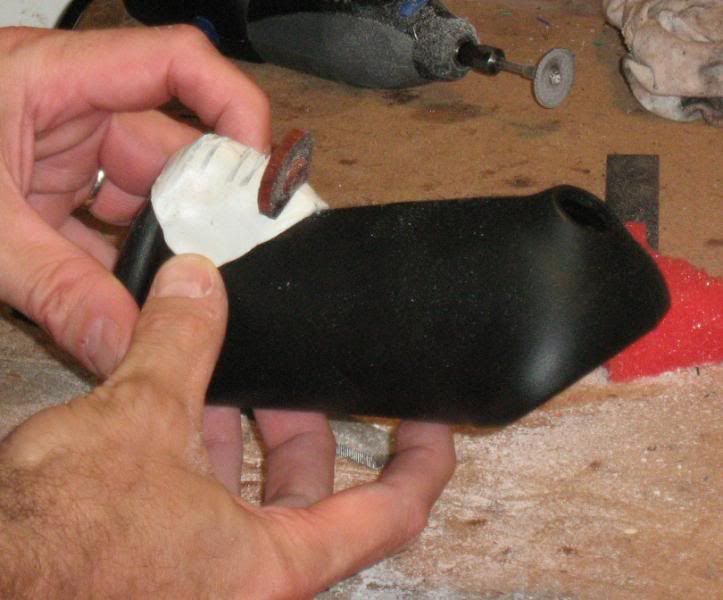

Work your way through each slot one at a time making sure all planes of alignment are correct.
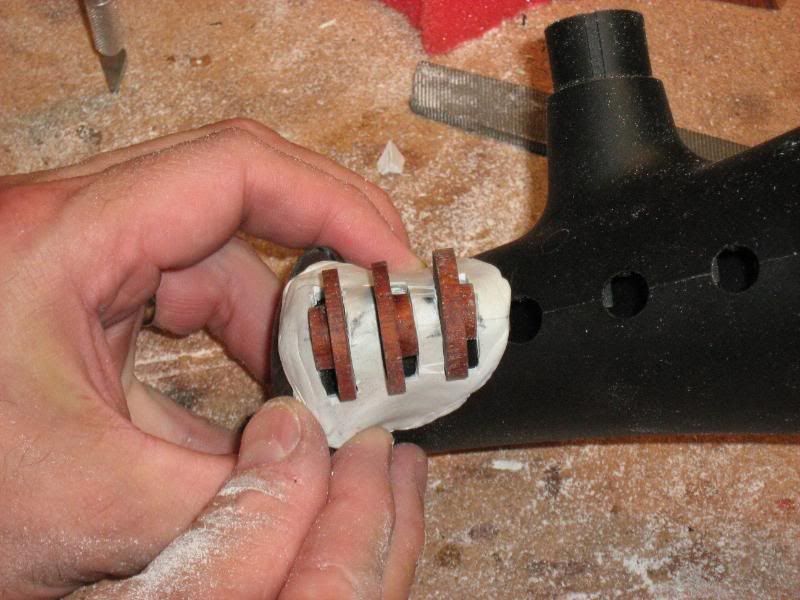
You want to make sure the wheels are not set below the surface of the housing else they would rub against the PT.
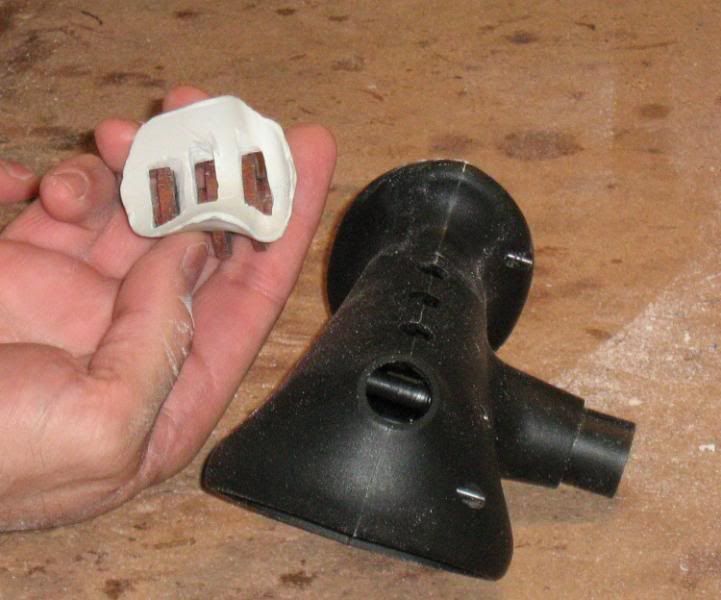
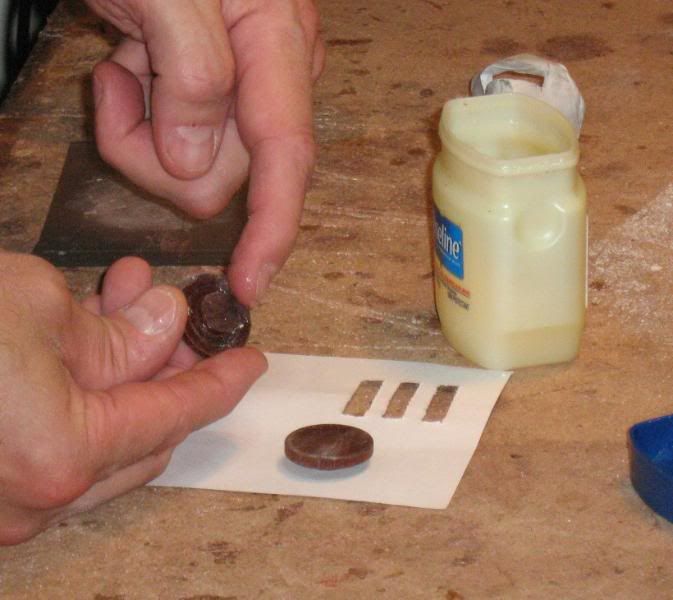
Use Vaseline to grease up the wheel pot dummies as you are going to need to pack putty in around them to create a bracket to hold the pot in place.
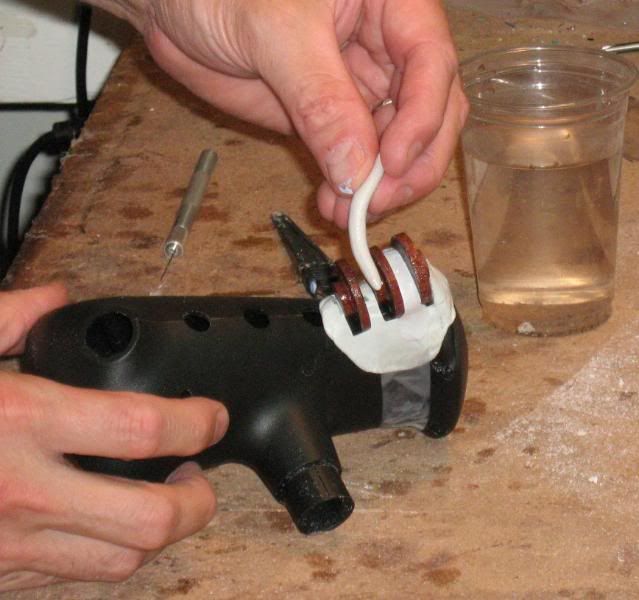
Slip the pot dummies in place and begin building up putty around them to form a bracket. Make sure you allow for the pot to slip back out. Be sure and pack putty from the bottom of the unit too to give the wheels a good bed to rest in.
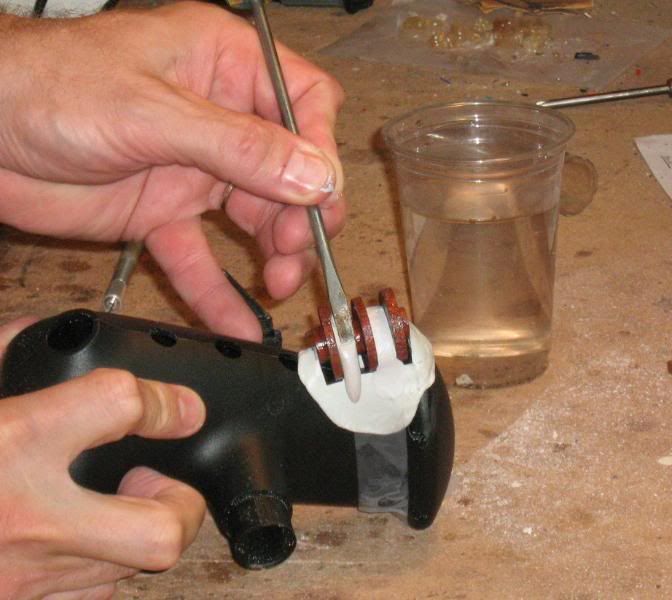
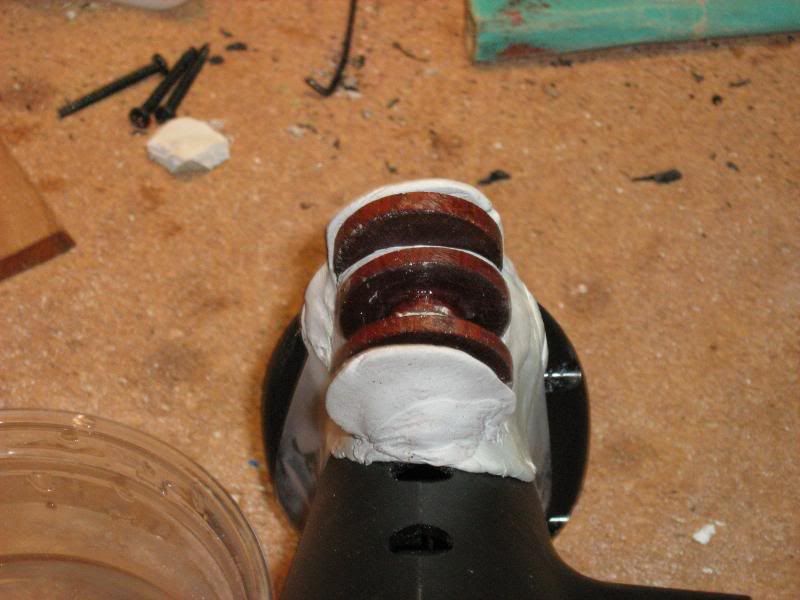
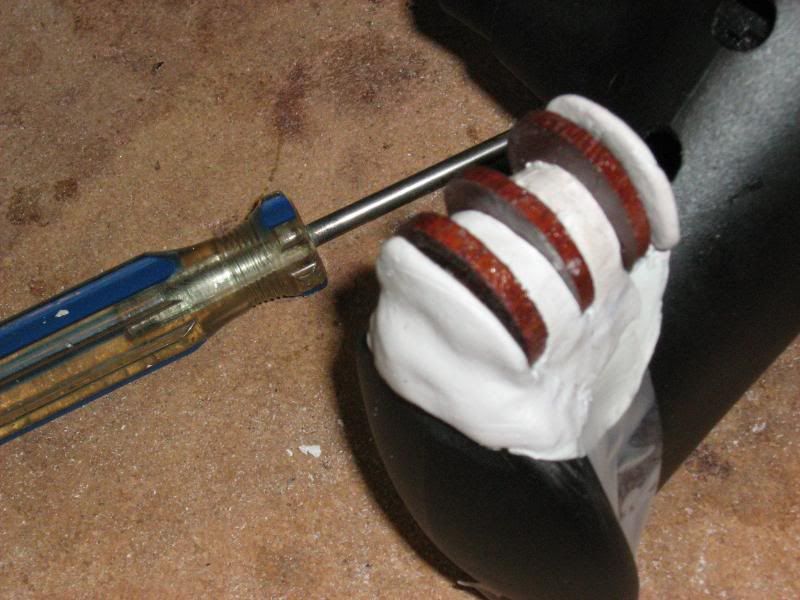
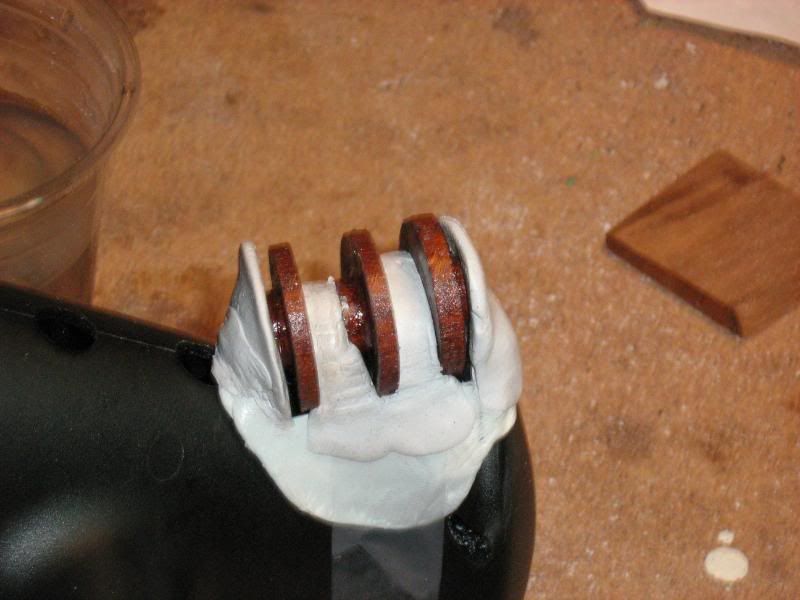
Here, I've removed the wheel dummies to show you the shape you want in order to give the wheel pot a good solid bracket so that it won't move around.
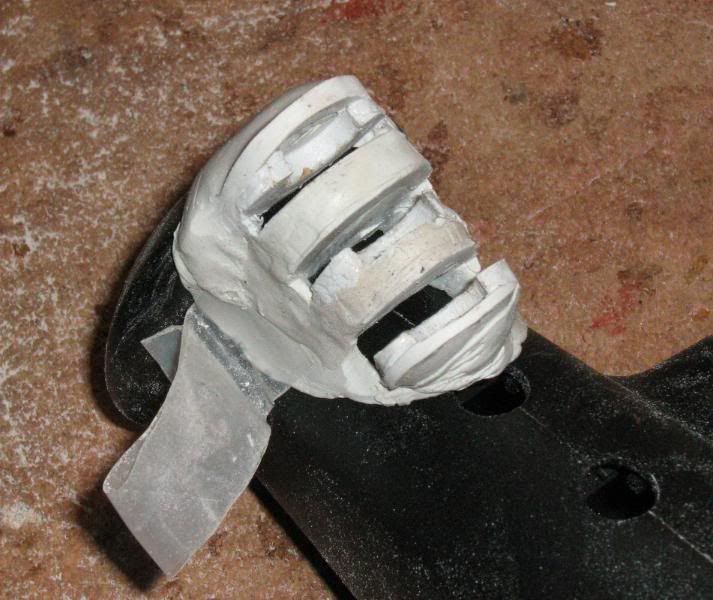
Now, use a sanding wheel and shape the housing so that there is good clearance in reaching the PT pinky button. Notice I've painted in some carbon fiber (the black part) around the thin part of the housing to keep it from breaking off. We'll be fiberglassing the entire unit for strength but we don't want it breaking until we're ready to do that.
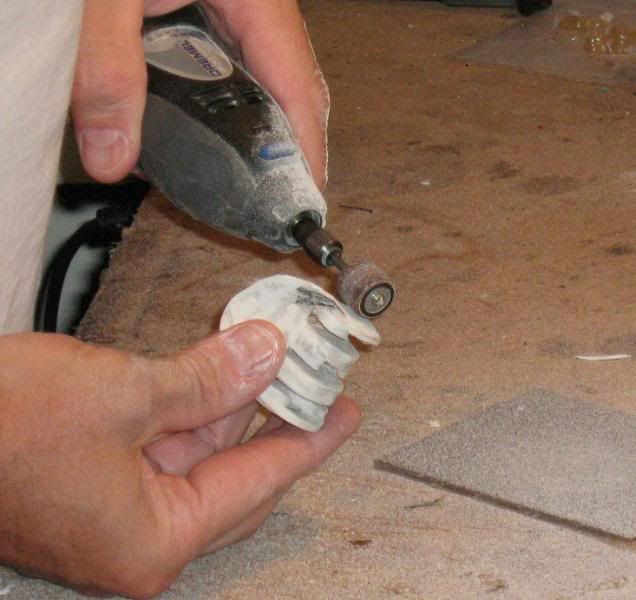
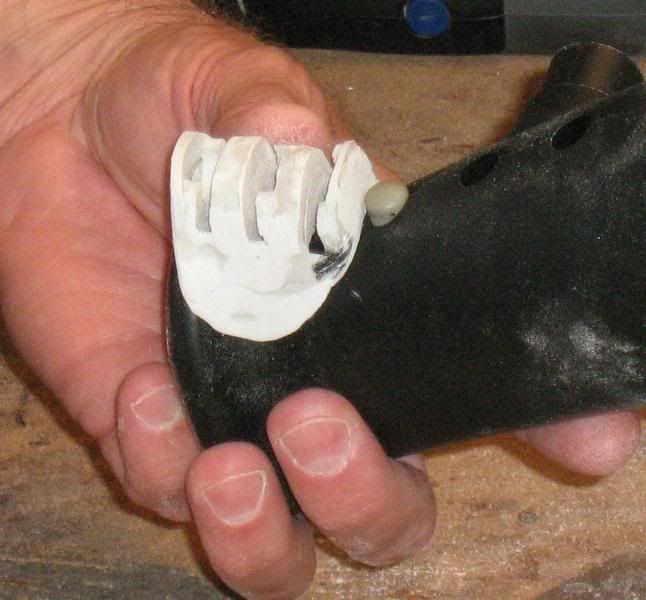
Test the pinky putton for proper clearance.
Finally, use a shaping bit, cut a small groove to allow the screw on the wheel pot to pass unobstructed when you slide the pot into its bracket.
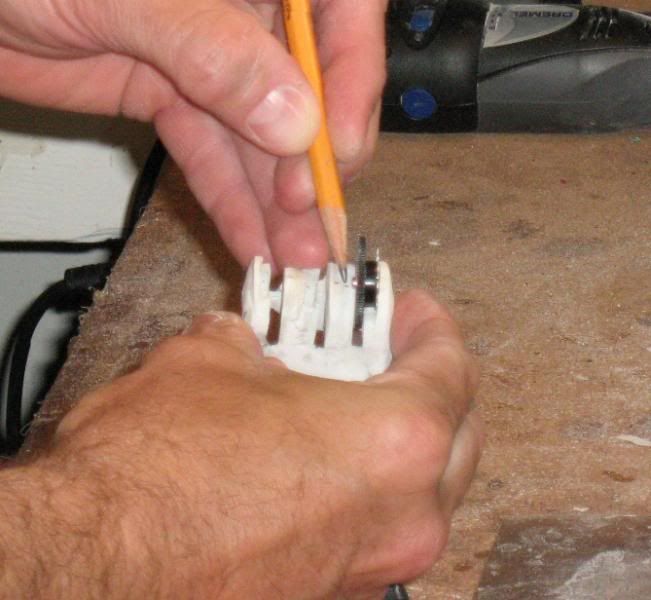
Here is the completed wheel pot slot construction.
