Modding the FX
In this chapter, we will cover making the necessary fabrication changes to the base of the FX stick.Ā These modifications include installing the power jack, RJ-45 case, power switch, drilling the holes for the LEDs, drilling the holes for the three pots installed on the front base, trimming the base lid to clear the installed parts and finally, a little touch-up painting.
Ā
Installing the Power Jack
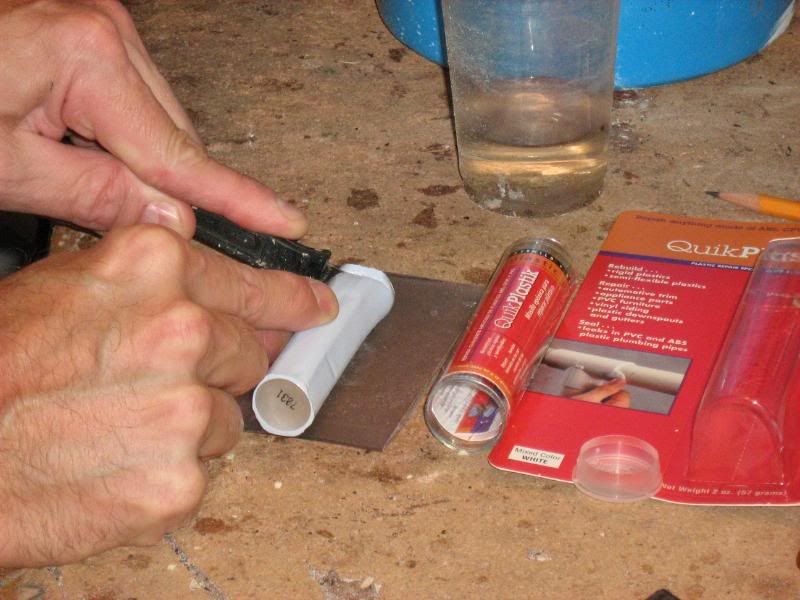
Use some rough sandpaper and rough up the area where you are going to apply epoxy putty.Ā Here I'm roughing up around the notch where the Power Jack will go.Ā I also roughed up the Power Jack itself.Ā
 Ā
ĀĀ
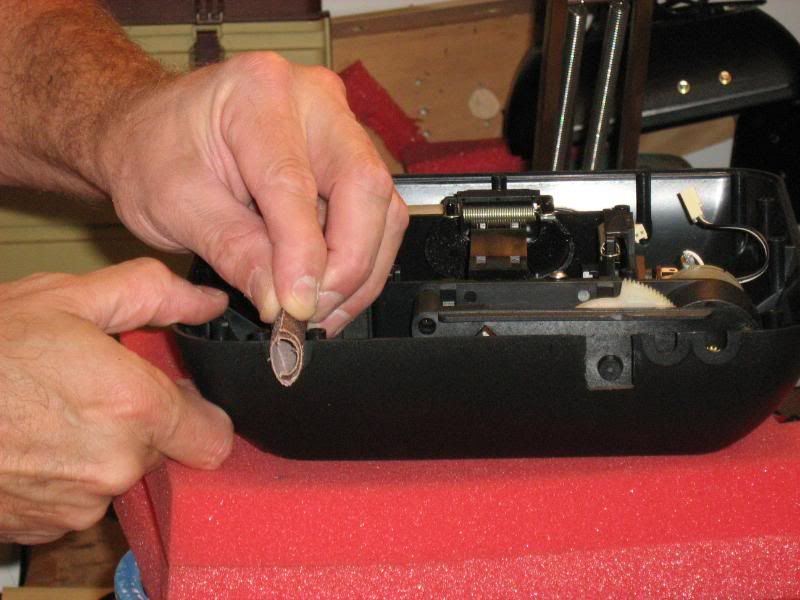
Cut off a small piece of epoxy putty.Ā
 Ā
ĀĀ
Putty the Power Jack into place.Ā
 Ā
ĀĀ
Ā
Installing the RJ-45 Case
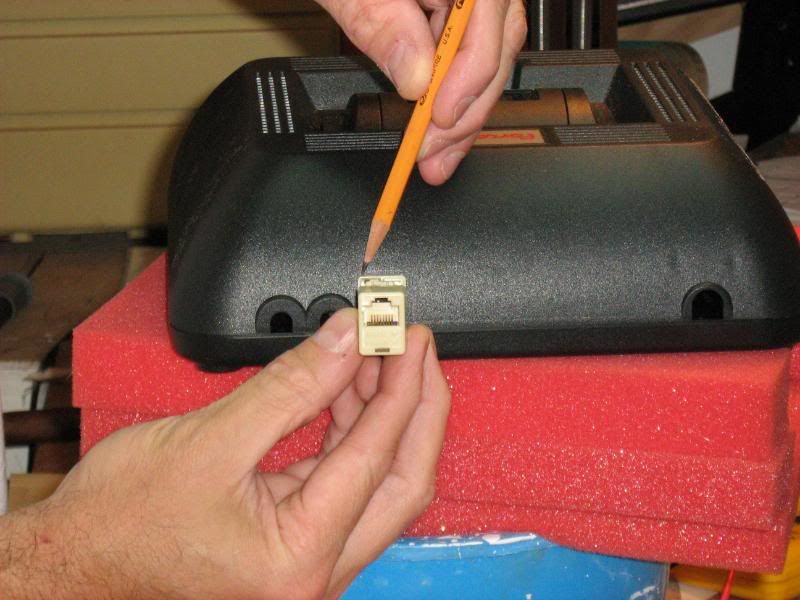
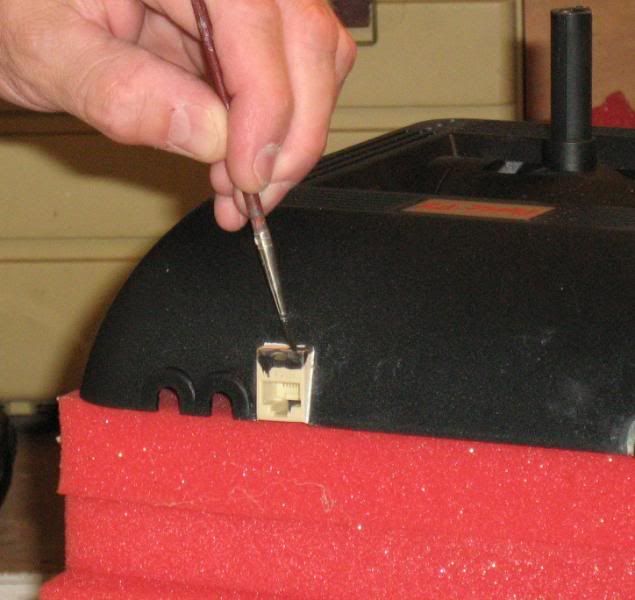
Place the RJ-45 jack just inside the double wire slot in the back of the FX case.Ā Mark to hole that need to be cut.Ā
 Ā
ĀĀ
Ā
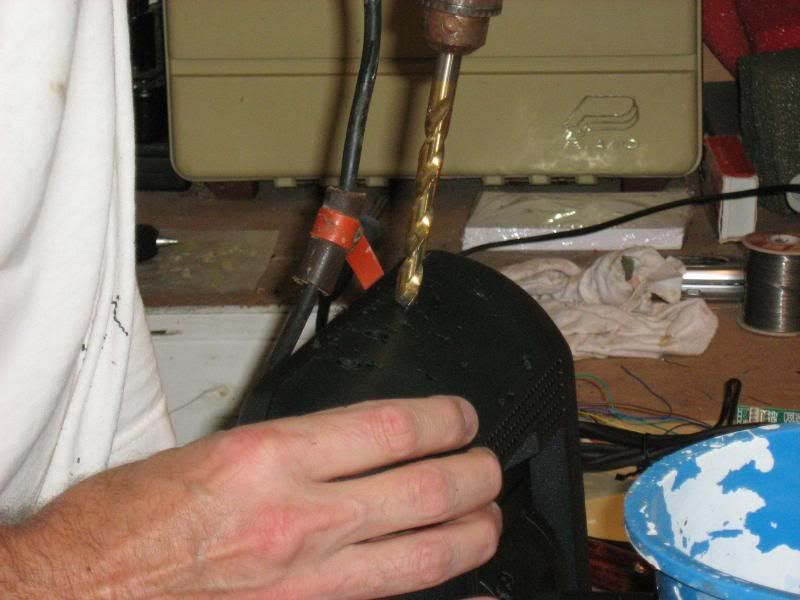
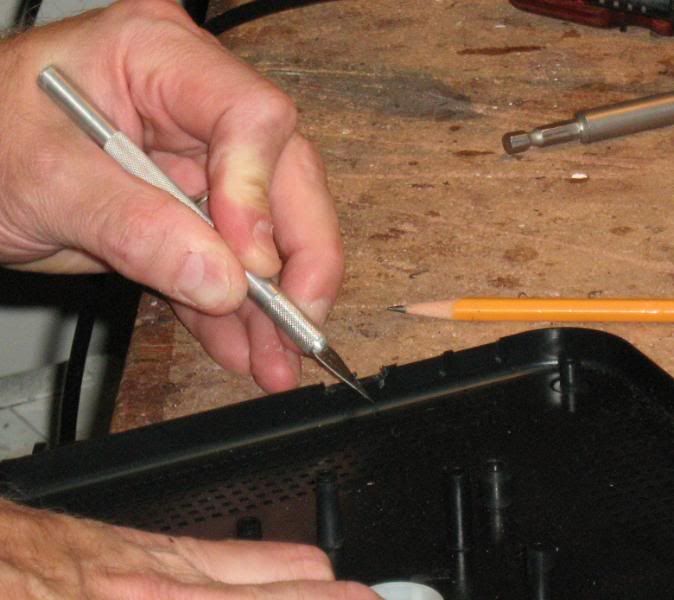
Cut the hole.Ā
 Ā
ĀĀ
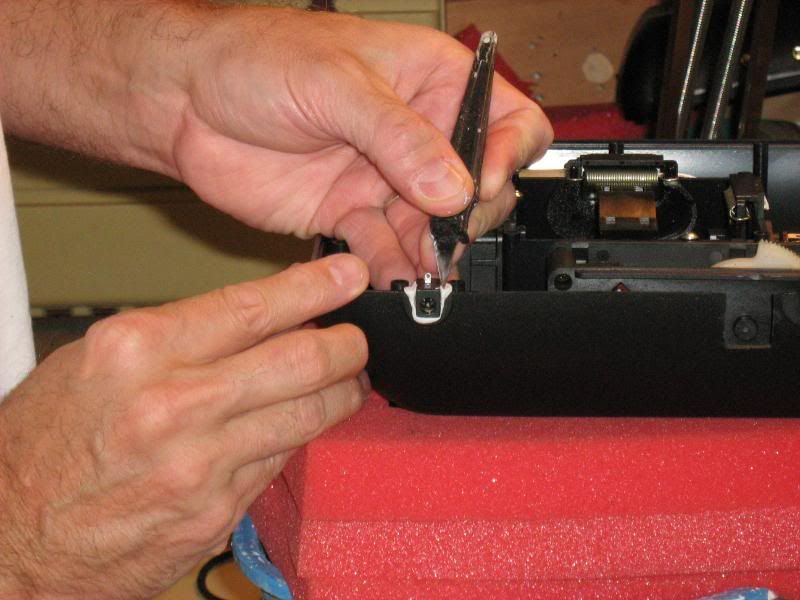
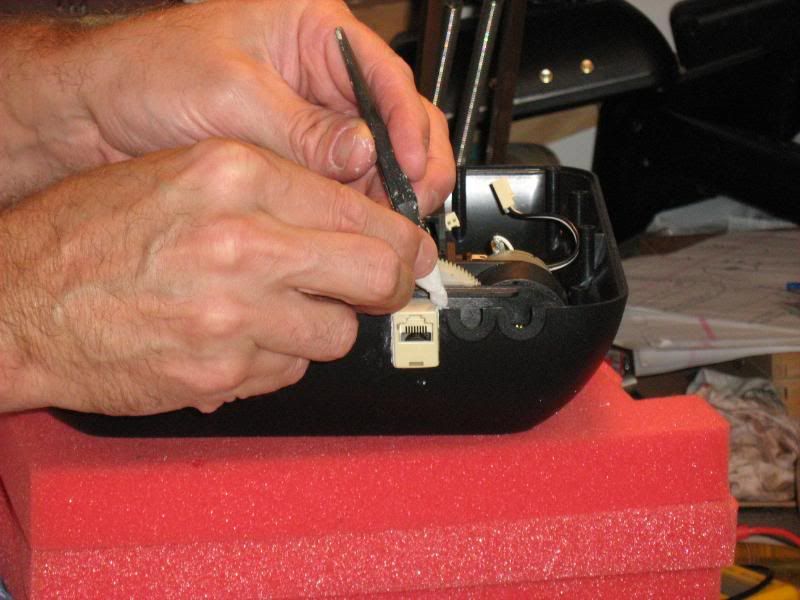
Trim the case down as much as possible so it will be easier to install the insert once the case is set in place.Ā
 Ā
ĀĀ
Putty the case into place.Ā
 Ā
ĀĀ
Ā
Installing the Power Switch
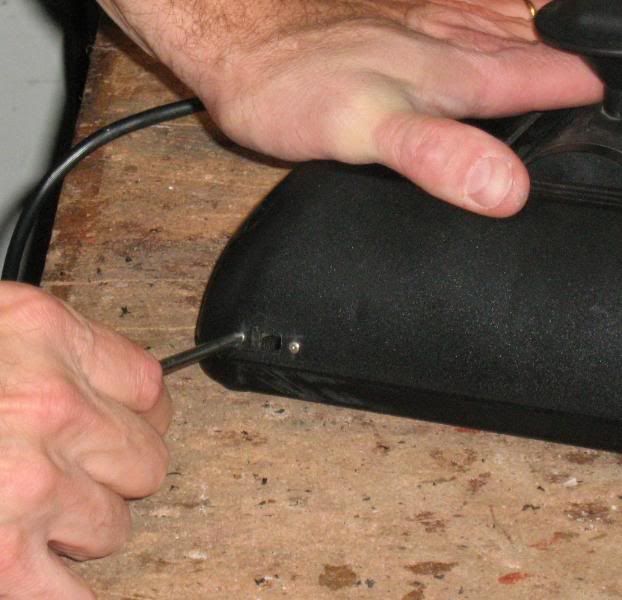
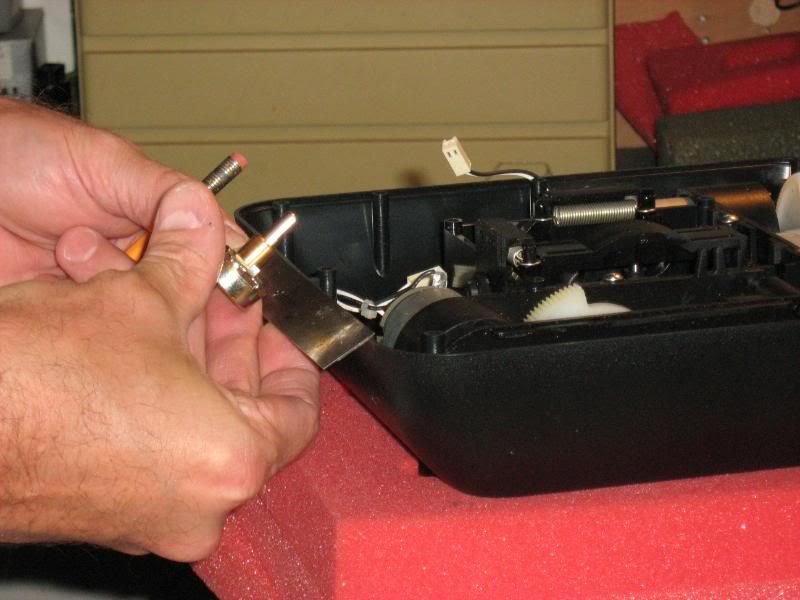
Cut the hole and install the Power Switch on the right rear section of the base so that it will be close in proximity to the Power Jack.Ā
 Ā
ĀĀ
Ā
Drilling the Holes for the LED Circuit Board
Lay the Mode Board (LED board) inside the front-right corner of the FX base and determine the best position to drill the three holes for the LEDs.Ā I think the best position is along the center section just inside the vented part that runs along the sideĀ (see the picture).Ā Center the middle LED up in that section and that should work well.Ā Mark the locations of the LEDs on the FX case.Ā
 Ā
ĀĀ
Use a pin and dig a small hole as a pilot guide then drill them out so that the LEDs will fit snuggly in the holes.Ā
 Ā
ĀĀ
Ā
Drilling the Holes for the PotsĀ
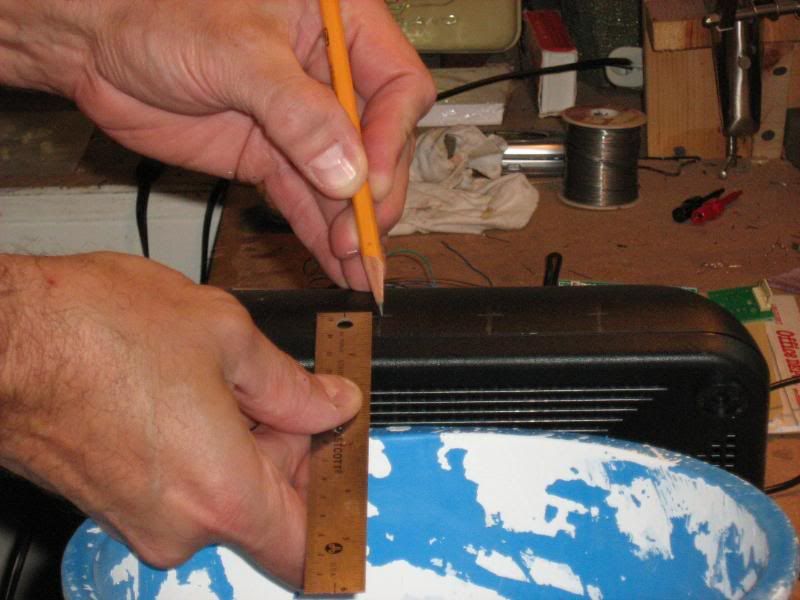
Spacing the pots 1-1/2" apart along the front portion of the FX base, mark the pot shaft locations 1" from the edge of the base.Ā Set them slightly to the left (as you look down on the base with it upside down).
 Ā
ĀĀ
Ā
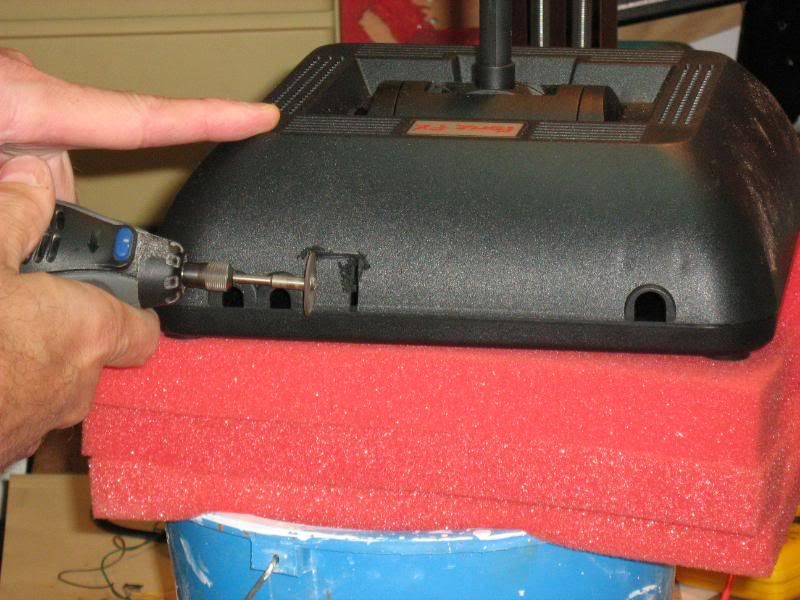
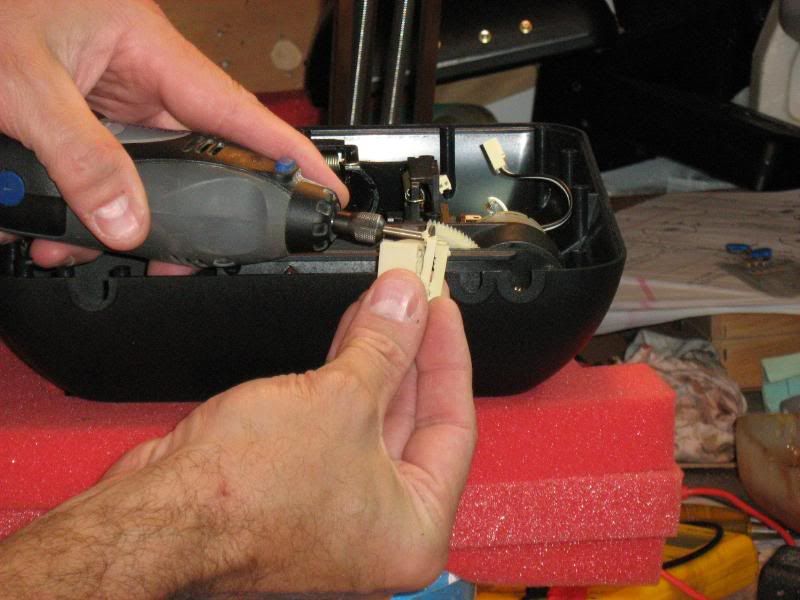
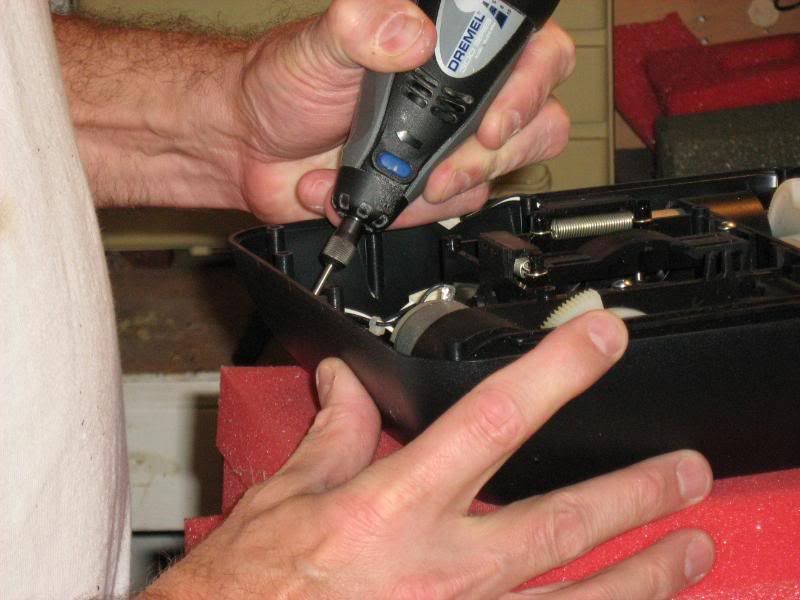
The support post in the center should be removed to get the center pot to fit well.
 Ā
ĀĀ
Ā
Mark the pot shaft locations...Ā
 Ā
ĀĀ
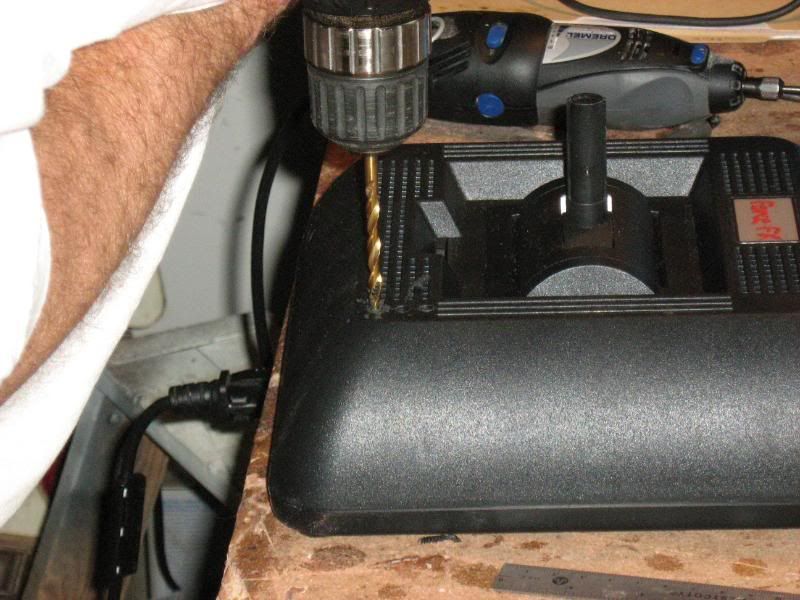
...and drill the holes.Ā
 Ā
ĀĀ
Trimming the Base Lid
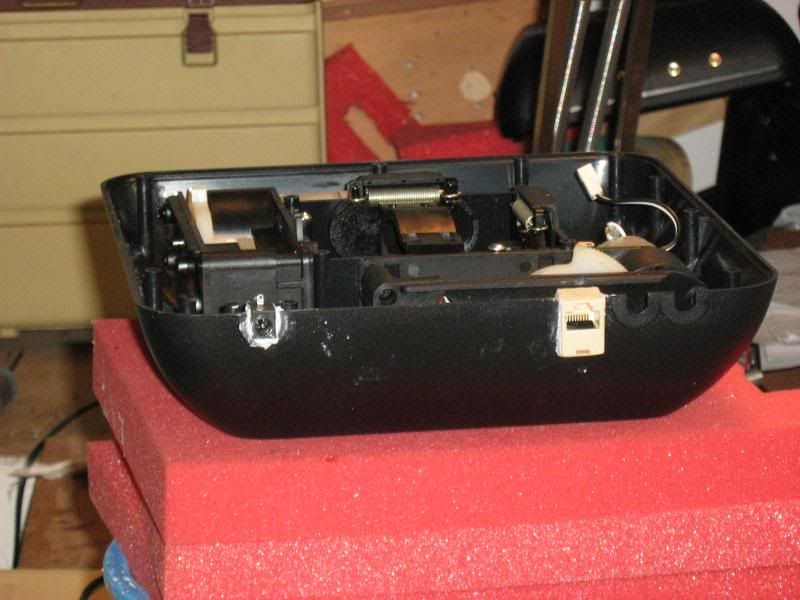
The Power Jack and RJ-45 Case will prevent the base lid from sitting down properly.Ā
 Ā
ĀĀ
...so you'll have to trim it a little to make it fit.
 Ā
ĀĀ
Ā
Finally, a little touch-up painting
 Ā
ĀĀ
Ā
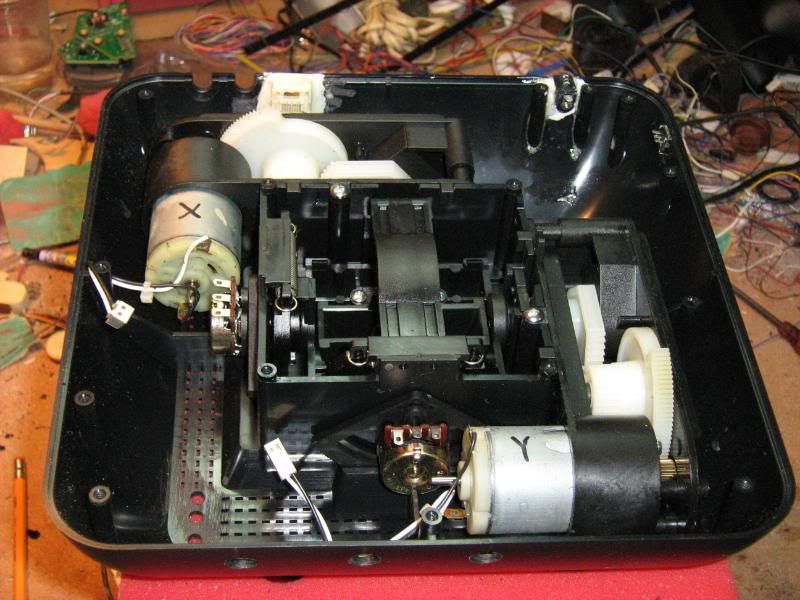
Fabrication complete:
 Ā
Ā