Development of the leftyHOTAS


Concept   [April 21, 2006]

A number of years ago, I made handles for my FS and PT out of fibreglass:


Lately, I've had several people ask me about these and desiring some for themselves. I've been thinking about how I could "mass produce" these handles.
 
Well, I made an effort to build injection molds so that I could create castings of a set of left-hand converted handles.  That project did not work so well.  On the positive side, I streamlined the process of converting these handles so that I can do a set in about four evenings.  I am selling these handles for $125 including shipping.
 
Here's how I do it.
 

Day One

Contemplating where to begin.


Here, I'm using a coping saw to cut the nose off the end of the FS. I'm being very careful not to cut through the alignment pins or to cut the internal button brackets. I cut both halves in exactly the same place so the pins will line up correctly.


Now, I've cut the nose off. I will turn the nose around so the button is facing to the left of the stick.


Next, I use some 30 min epoxy and reverse the nose piece so the button is on the left and carefully glue it into place. Notice that I have waxed paper between the halves so I don't accidentally glue the halves together.


After the nose piece glue has setup enough to remove the tape, I now proceed to saw the stem off the throttle and measure 2 7/8" from the butt end of the throttle to locate the stem on the other half of the throttle. This effectively flips the throttle over so it will now be oriented for the right hand. It's critical that I get the stem nice and plumb and along the same plane as the butt end of the throttle. This is the trickiest part of the job so far.


Next time: Mounting the stem and cutting the hole for it. Stay tuned.
 

Day Two

After the very disappointing loss to the Canadiens last night (6-1), I was even more motivated to get to work on this project. Maybe it will get my mind off the game.

I found my old game port gear (FS, PT, basic pedals) and stripped all the electonics out of them to use as models and mockups for this project. This has really been helpful. I discovered that the handles are identical to the USB versions except for one small pcb mount in the roof of the PT. That is a very simple difference to overcome. Here are all the pieces layed out on the bench.


The FS nose assembly from yesterday is now completely dry and ready for shaping and a little fibreglassing:


Now that I have the gameport throttle as a model to work from, I'm using it to properly align the relocated stem on the throttle. It is important that I view all three axes so everything looks good and plumb.


Once I get the stem properly aligned, I'm using some tape to hold it in place.


After carefully lifting the throttle assembly from the base, I then tack the stem in place with some hot glue to keep it from moving.


I can now remove the tape and outline the stem's location on the throttle handle.


Next, I'm drawing a line just inside the outline I made from the stem. I will be cutting a hole along this line and the about a 1/4 inch area will provide a gluing surface.


I then cut the hole out using a Dremel tool and an Xacto knife.


Now I'm ready to mix up some epoxy and glue the stem into positon.


While I'm waiting for the glue to dry on the stem, I'm cutting the boat hat off the FS in preparation for moving it.


It's very important that I treat the cutting off the boat hat with the matching piece on the other half that contains the mount support which holds the hat switch in place. I'm going to cut both halves in the same places so I can keep them matched up when I reverse them. Notice that I actually have the hat placed in positon. This comes from my sacrificed gameport FS. Having it in place helps me be sure I'm seeing the alignment properly.


After I cut the boat hat off, I put the two handle halves together and use a piece of tape to help me get a good matching line so my two holes are identical. This will assure that my hat and the mount on the opposite handle half will mate up properly. I can always trim things a bit after gluing the hat if necessary to make this work out.


After carefully cutting the opposite hole across from the boat hat, I now trim the hat piece and epoxy it into place on the right side of the handle.


I carefully wipe off the epoxy on the outside of the handle because I hope to not have to do a lot of cosmetic work there other than fill in the gaps.


I really can't complete the boat hat until the glue dries. Matching up the other half of the handle is critical so while I wait, I'll clean up the hole where I removed the stem from the throttle.


That's about all I can do today. Next time, I'll glue the matching piece in the hole opposite the boat hat so as to insure the hat will be properly supported when the halves close together.

See you next time.


Day Three

Now that the Boat Hat has dried, I can glue the opposite mating half into place. Care must be taken to make the switch sit in the "V" of the mount like this:


I glue the support mount half against the Boat hat using some clamps to make sure the "V" sits properly at the base of the Boat hat. I trimmed a sliver off the side piece so I can look in to see that my alignment is right.


While I'm waiting for the glue to dry on the FS Boat hat, I'll patch the hole on the top of the throttle where the stem used to be. I'll bet you thought "Post-It Notes" were only used to stick around the edge of your computer monitor. A little epoxy on the inside makes that paper stiff as a piece of metal.


Later that night, the glue is dried on the FS Boat hat. The structural alterations are now complete on the FlightStick.


After a couple more hours, the structural work is complete on both FlightStick and Throttle. All that is left now is cosmetic stuff. If you didn't care at all about appearance, you could actually mount these handles and begin using them. Don't you dare!


One small cosmetic detail that I have to take care of. The mounting screws for the PT screw in from the bottom but since I've flipped mine over, they are now on the top. This is ugly and I can't live with it.


I'm drilling out the mouting screw holes and will plug up the ones on the mating piece so the screws once again feed from the bottom. I feel so much better now.


All that is left is to wrap the high stress areas like the throttle stem with some fibreglass and putty up the cracks and holes. Then I'll sand everything and prepare the pieces for painting. We're getting close now.

Not bad for three days work.


Fourth and final day

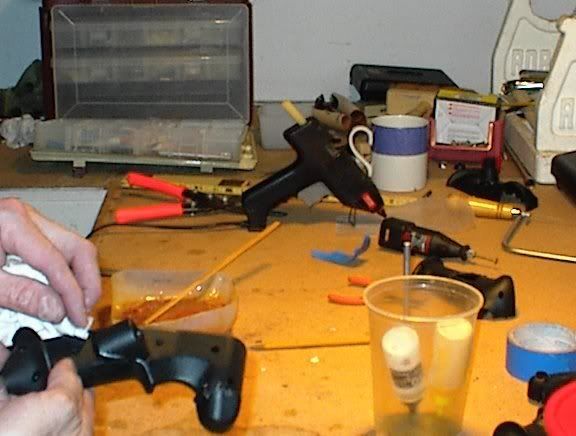
Now, the finish work.

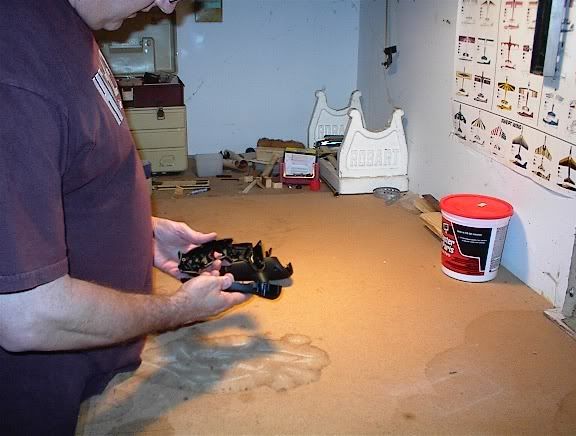
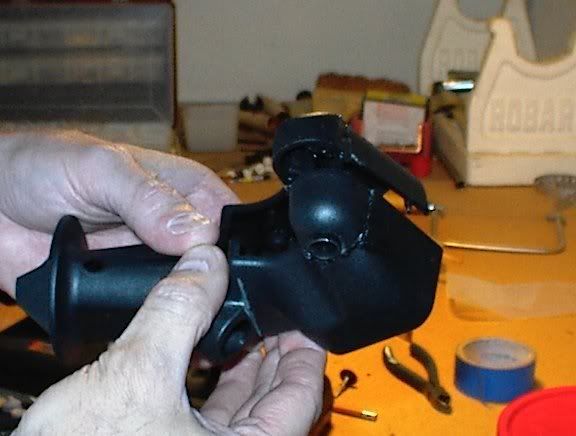
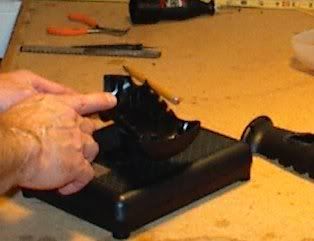
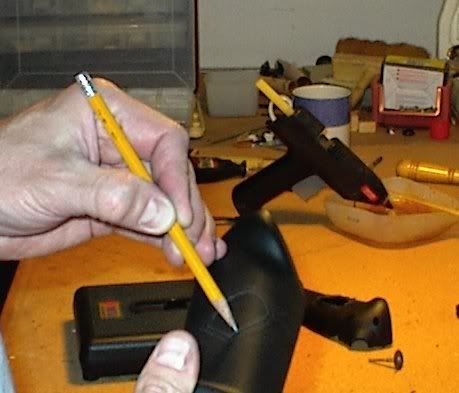
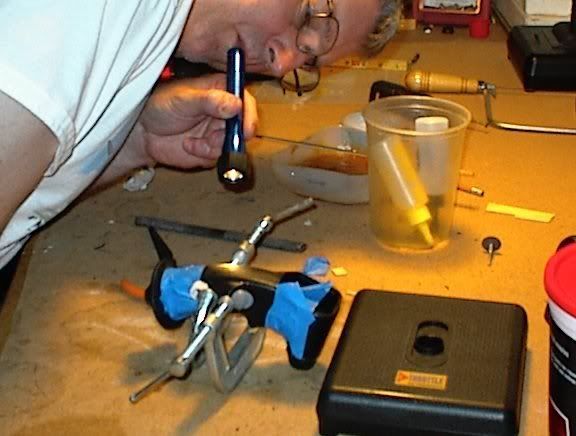
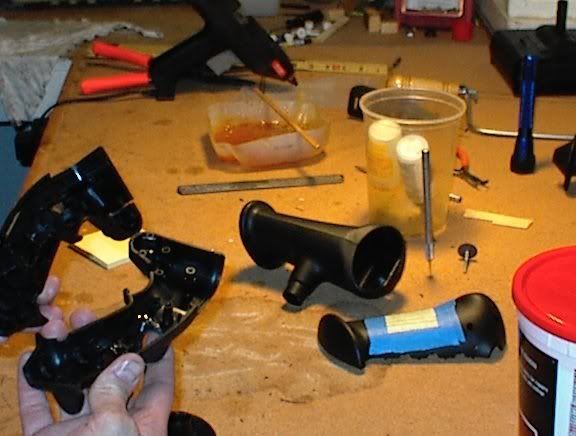
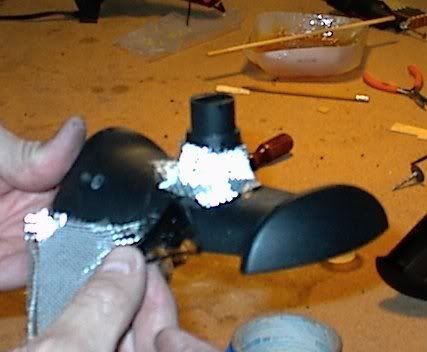
The biggest stress point is the stem of the throttle. If you're like me, you have a tendency to use your throttle as an arm rest while reading manuals, etc. The last thing I want is to break the stem off. Here, I'm using a radio control airplane builders secret weapon: carbon fiber. It looks like hair and when painted onto a surface with epoxy, it becomes like metal, except without the weight. It's great stuff. I once ran an airplane into the ground (radio failure) from about 400 feet at full speed. The plane was completely destroyed except for the places where I had painted in carbon fiber.


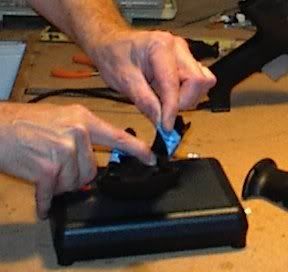
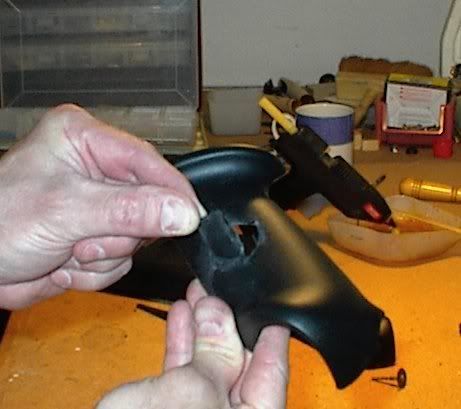
Next, I apply some fiberglass cloth over the carbon fiber and in the other areas where I've glued a piece on, e.g. the FS nose, throttle stem, patched hole on top of throttle.


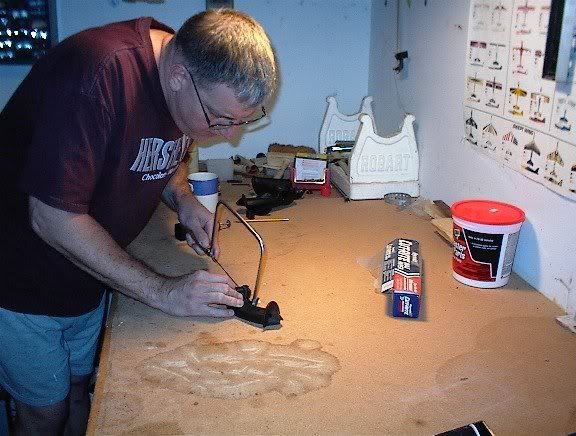
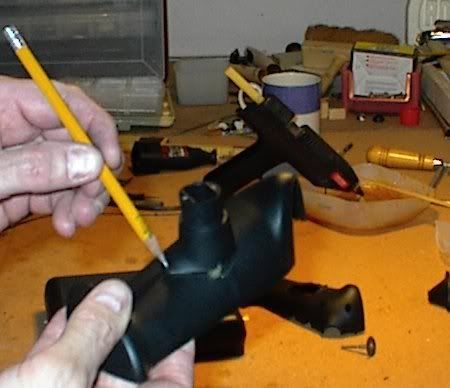
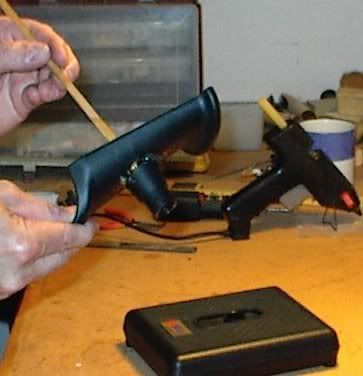
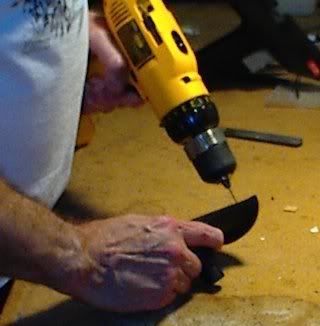
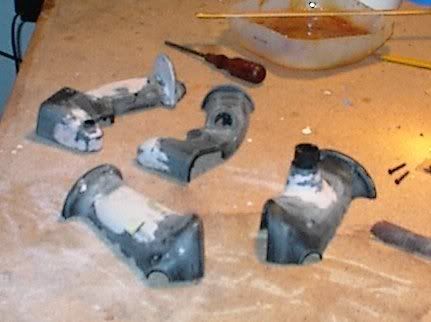
After the fiberglass dries, I sand it with some very rough sandpaper and bring out another secret weapon. Being from East Tennessee, this stuff is as common as milk and bread. In fact, you find this stuff on the shelf in the grocery store right there beside the bread! What am I referring to? You got it: Bondo! Known by non-southerners as Auto Body Filler. As a kid, I used to get this stuff in my stocking at Christmas time!


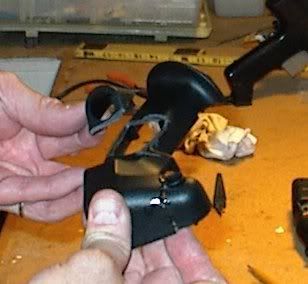
Once the Bondo has been applied everywhere there are gaps and pits, everything gets sanded good and is now ready for a paint primer.


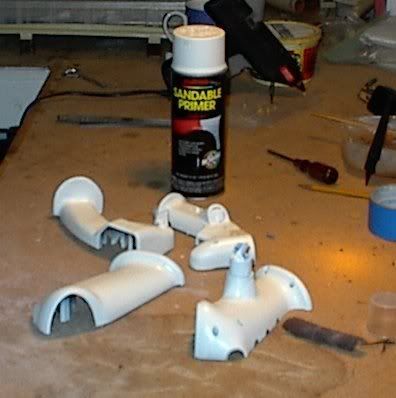
Applying the primer. One of the main reasons I'm doing this is that the primer brings out imperfections in the finish. I have been known to apply primer three or four times as I putty over pits and scratches and re-prime.


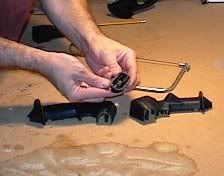
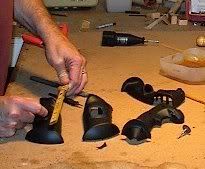
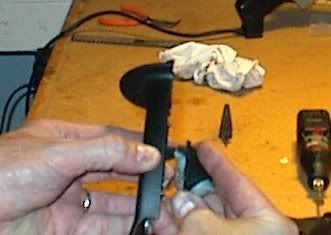
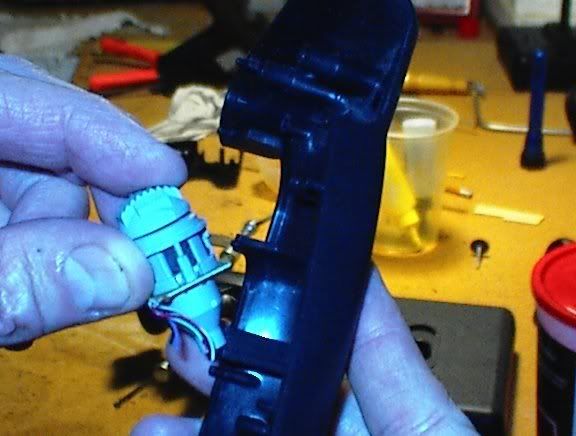
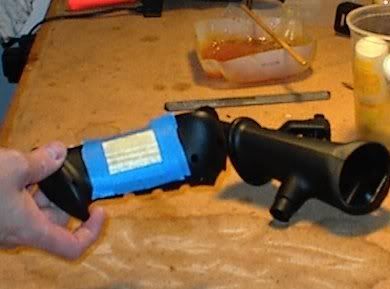
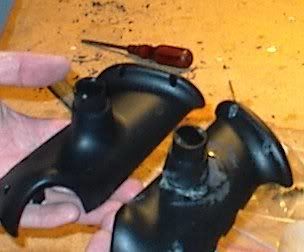
The construction of the FlightStick and Pro Throttle handles is now complete.


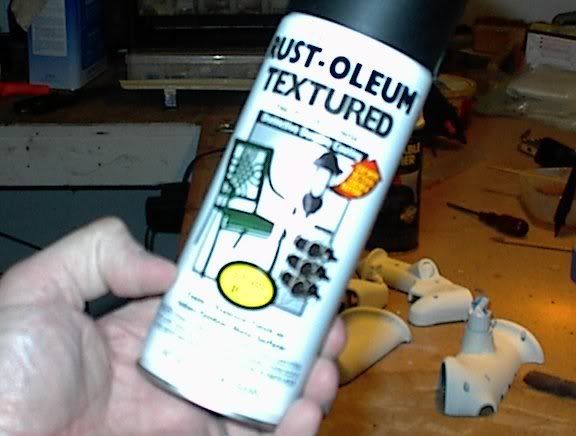
Finally, I apply three coats of a great product I found for painting controller handles. It is Rust-Oleum Textured Finish. It leaves the distinctive sandy textured finish that controllers tend to have. I used this stuff on my controllers about three years ago and there is no sign of it wearing off and it has never rubbed off on my hands. It is really a remarkable product.


Hope you enjoyed the little tutorial. Also, I hope some of you will give this a try. It's really not that hard if you just take your time and work sequentially and carefully.

Thanks for following along.

-mark