CH is arguably the most well made and most reliable game controllers on the market. Even still, parts do wear out given enough time. One of the first parts to begin to fail is a hat. A common symptom is a hat will begin to fail in a particular direction or require much more force than usual to make the button press. The problem could be that the switches themselves are beginning to fail but the more common problem is the nylon actuator that the hat button is attached to begins to get flat spots on it after thousands of button presses. In this article, we will explore some simple and inexpensive ways to get some more life out of a failing hat.
The most common hat to fail on a CH FighterStick is the eight-way "Coolie" hat because it is used most often for viewing making it the most used hat on the stick. We will look at how to get this worn hat working properly again.
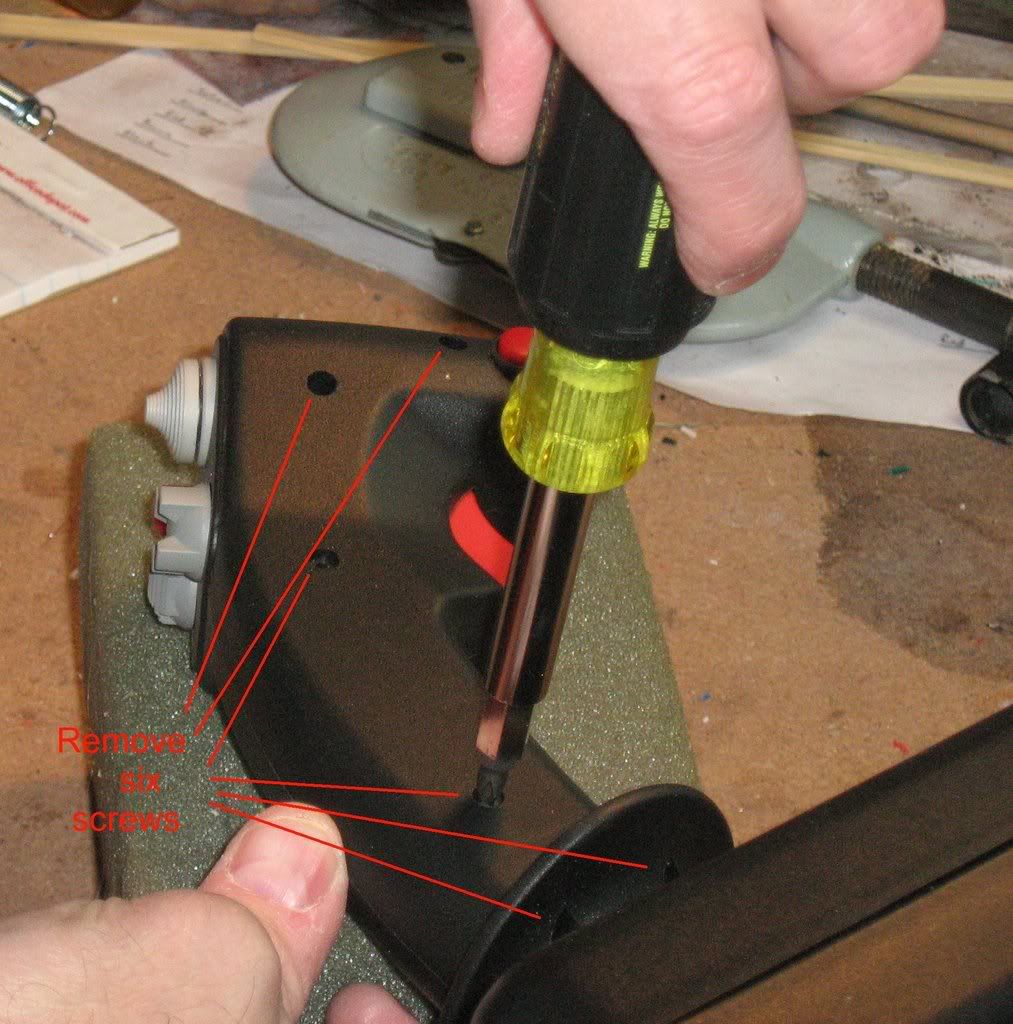
The first thing we need to do is open up the stick handle. Lay the thumb hat (boat) side of the stick on something soft and remove the six screws that hold the stick halves together.
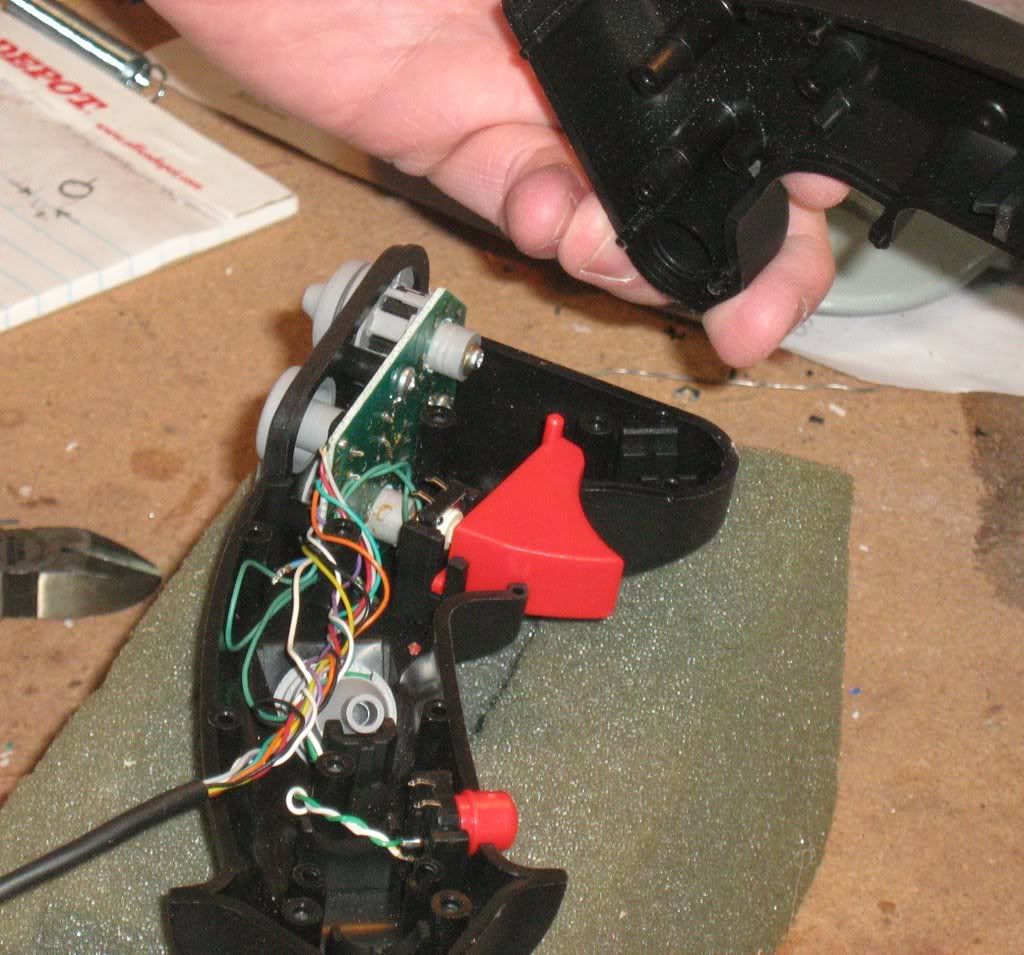
Next, carefully lift out enough of the electronics so that you can lay the circuit board the coolie hat is attached to on the bench without putting stress on any of the wires.
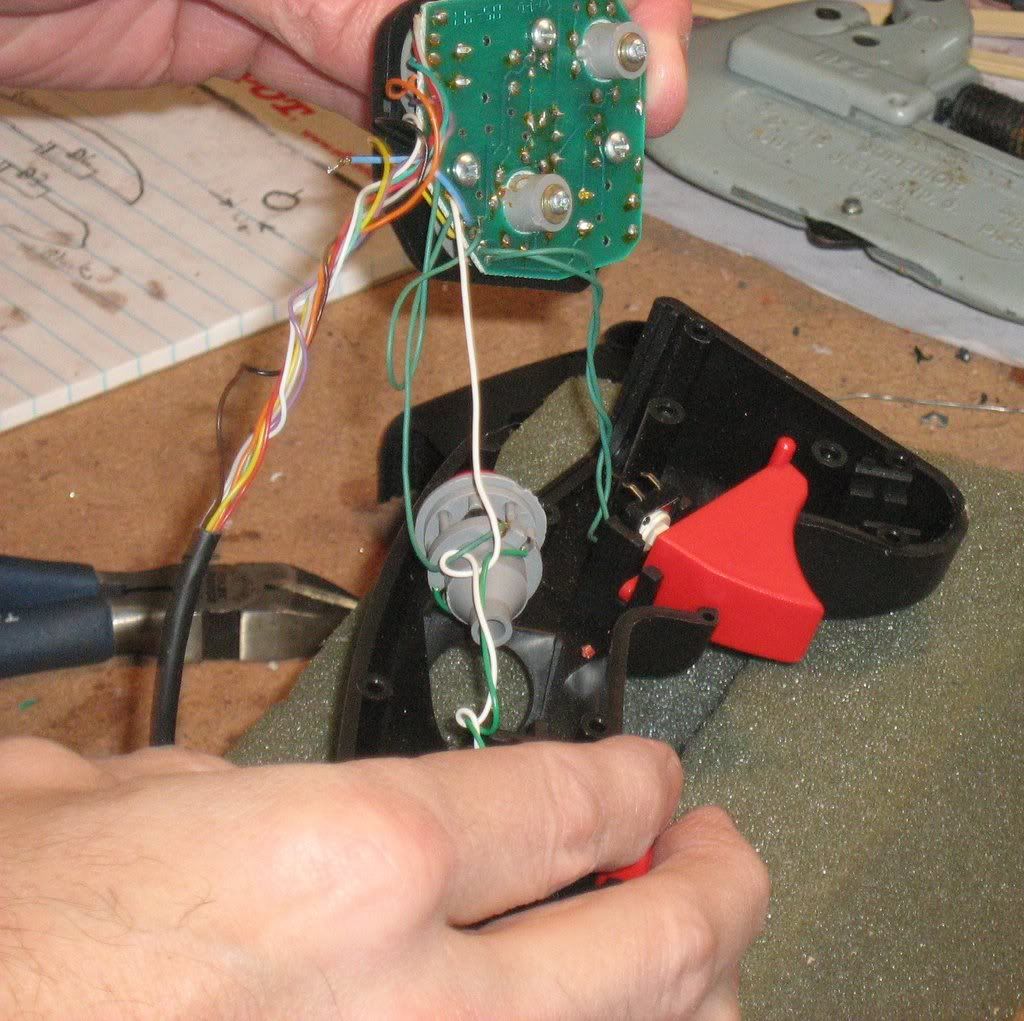
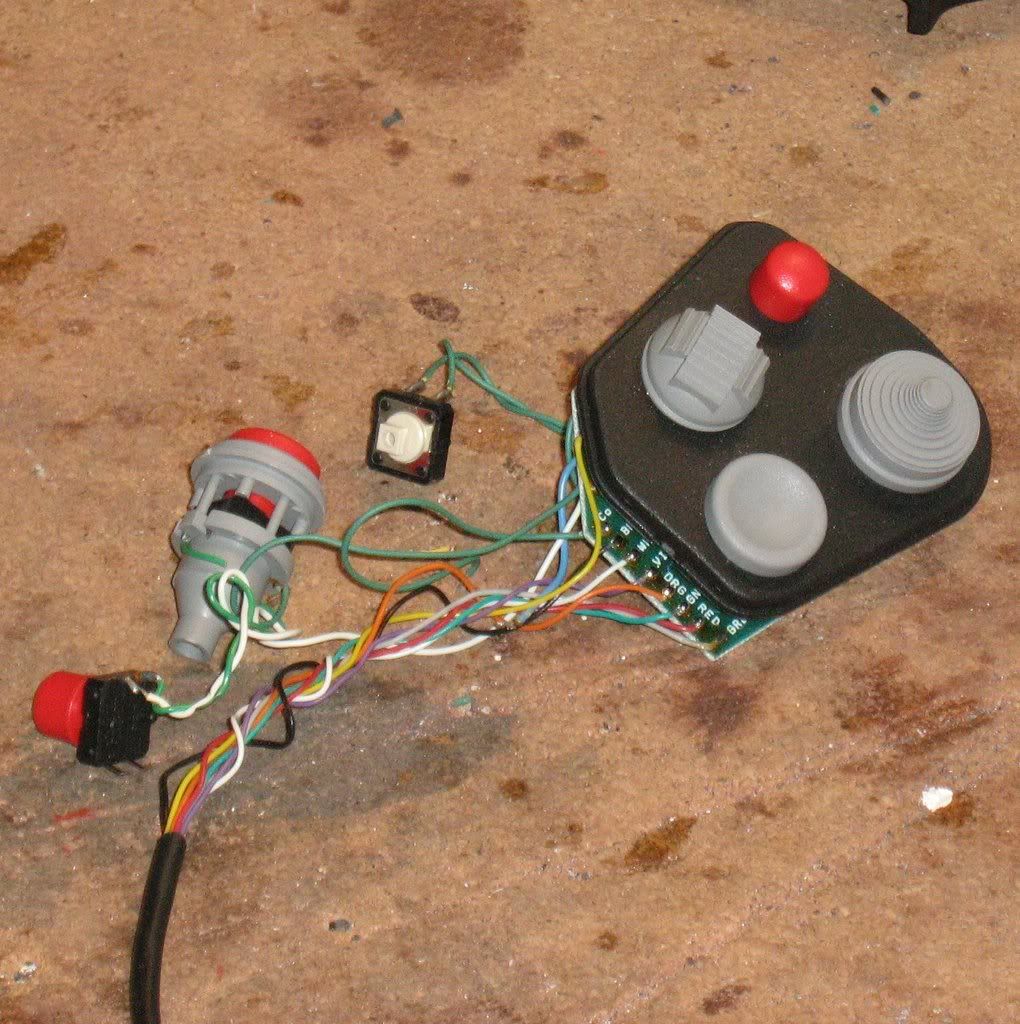
After freeing the circuit board from the stick, we must remove the black frame that is mounted over the hats and buttons on the circuit. Remove the three screws that hold this frame in place.
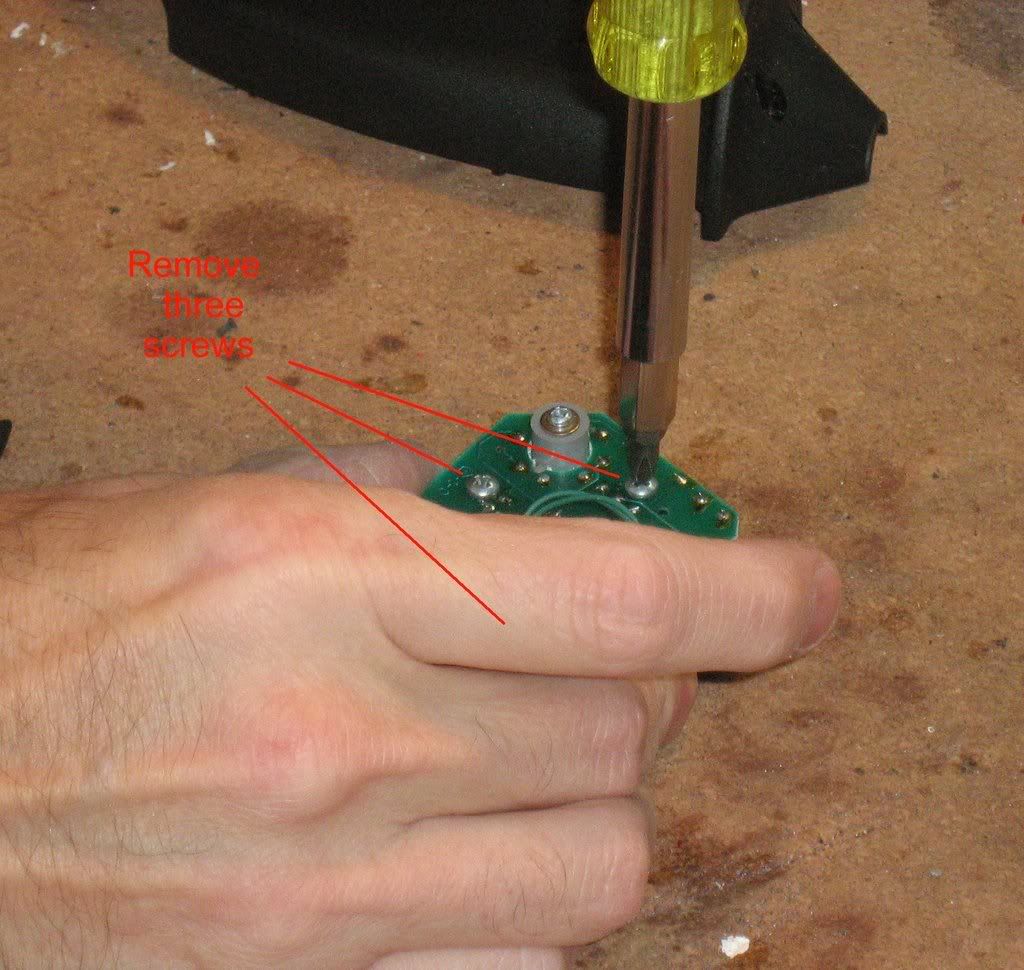
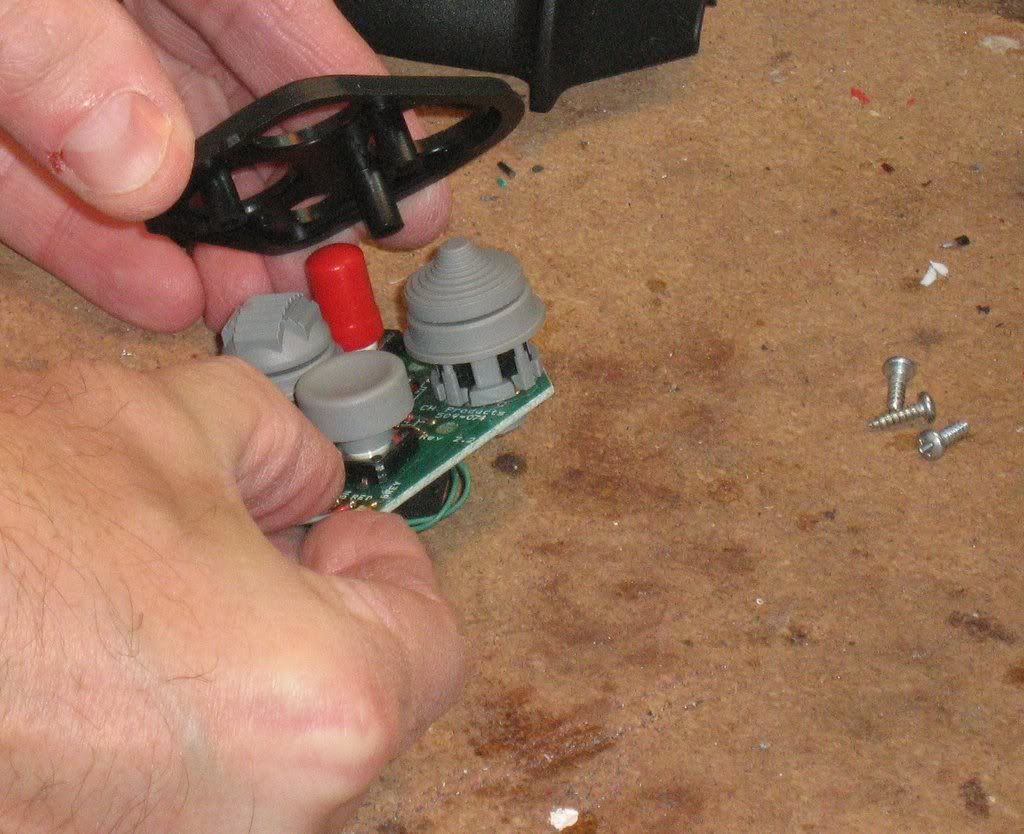
Next, remove the screw that holds the coolie hat actuator in place.
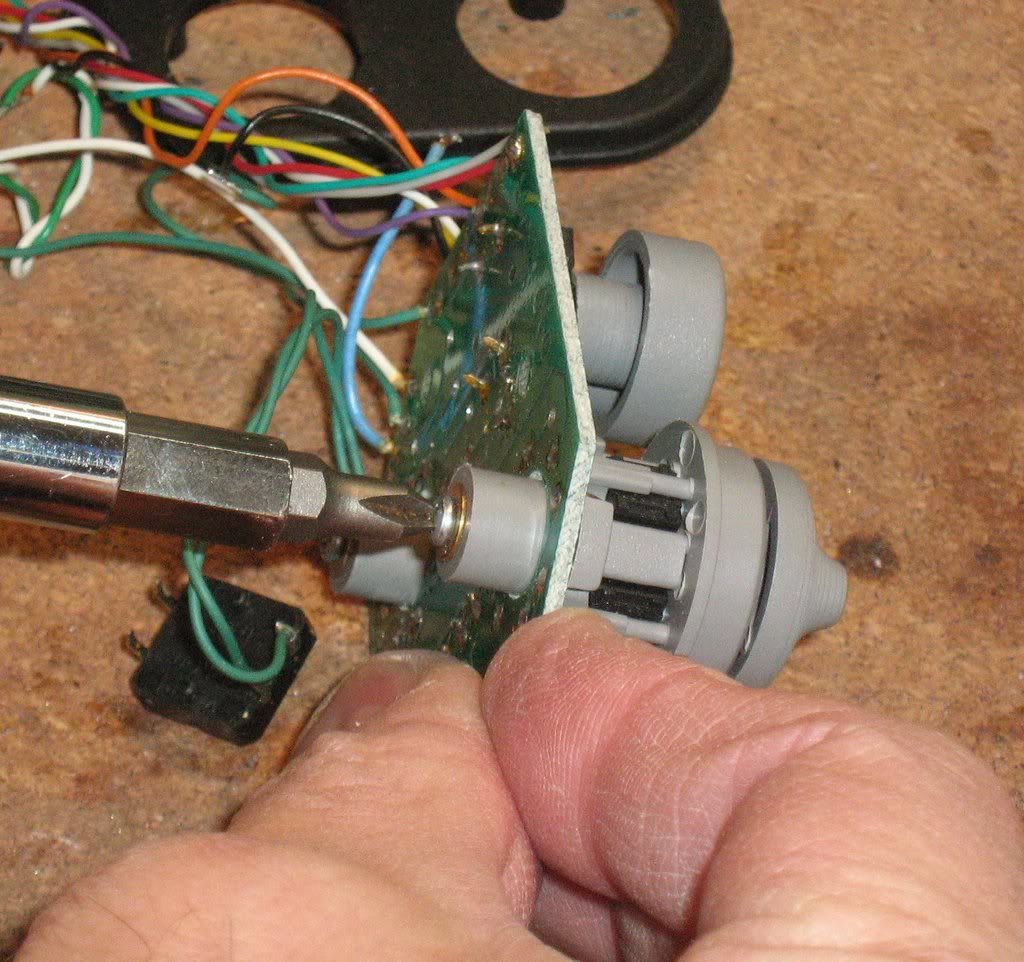
You can then slide the coolie hat button and actuator out of the hat assembly.
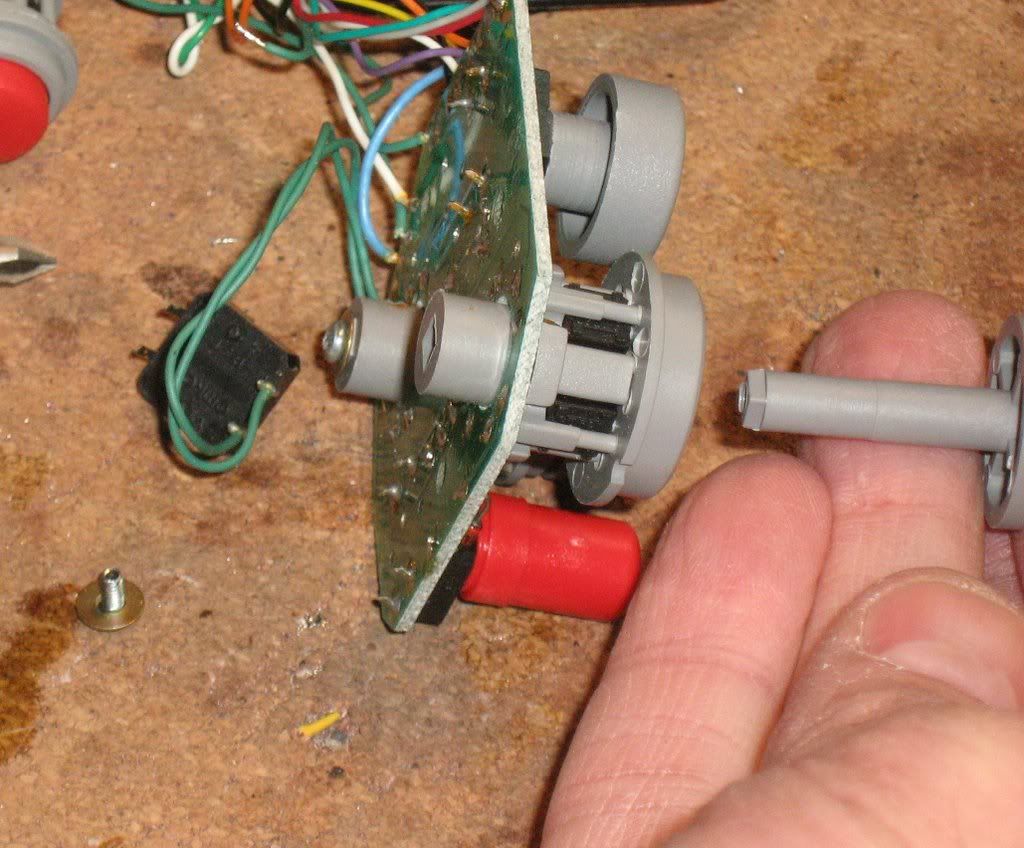
Since you are doing all this because your coolie hat has begun to fail, you will most likely see a "wear ring" around the actuator where it has been hitting the buttons. It is this wear that is causing your problems. Over time, the actuator has gotten worn where the buttons are and it is no longer able to press the button as far as it once did or you are having to apply more force than usual to make that happen.
The easiest thing to do at this point would be to replace the button-actuator with a new one. You could either pull one off of an old Gameport version (CH has been making these hats and buttons the same way for the last 10-15 years) or swap it with a less used one.
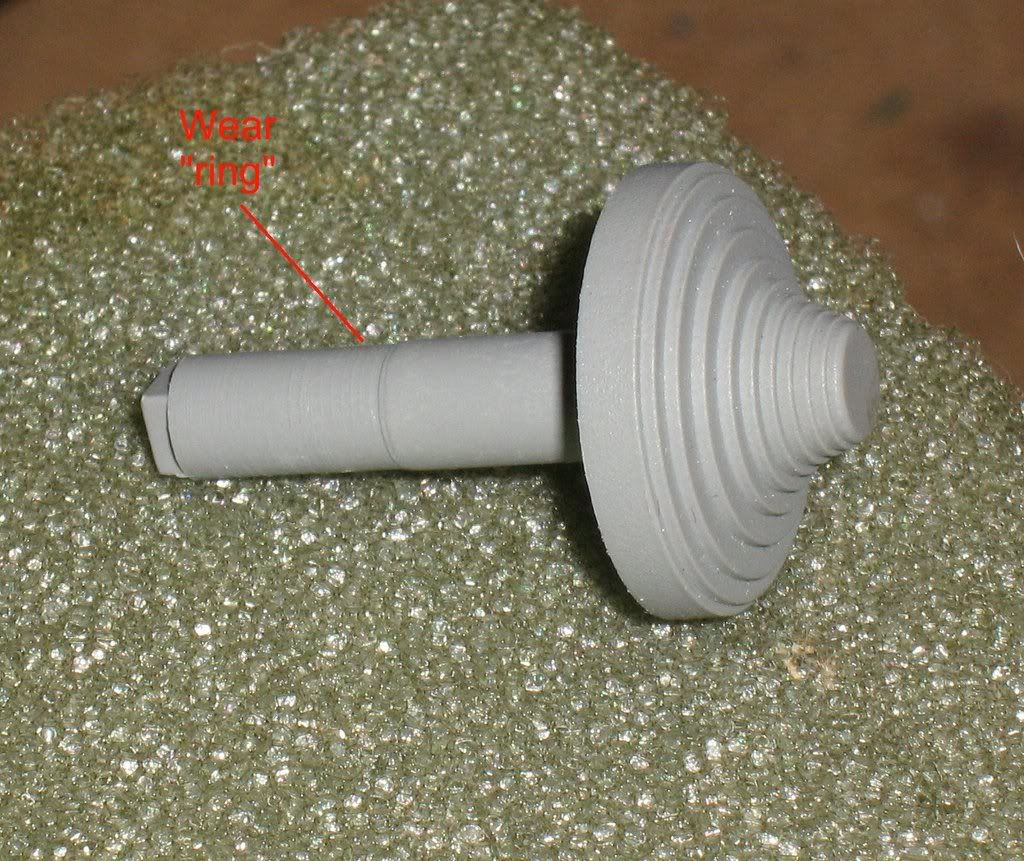
If you'd rather try to use the worn actuator instead, you can possibly get away with filing a couple of strategic places on the hat.
First, remove the cap on the hat assembly by using a small screw driver and prying at the tops of each of the four buttons (black areas). Be careful to mark where the notch is on the cap so you can put it back in the same position as it originally was.
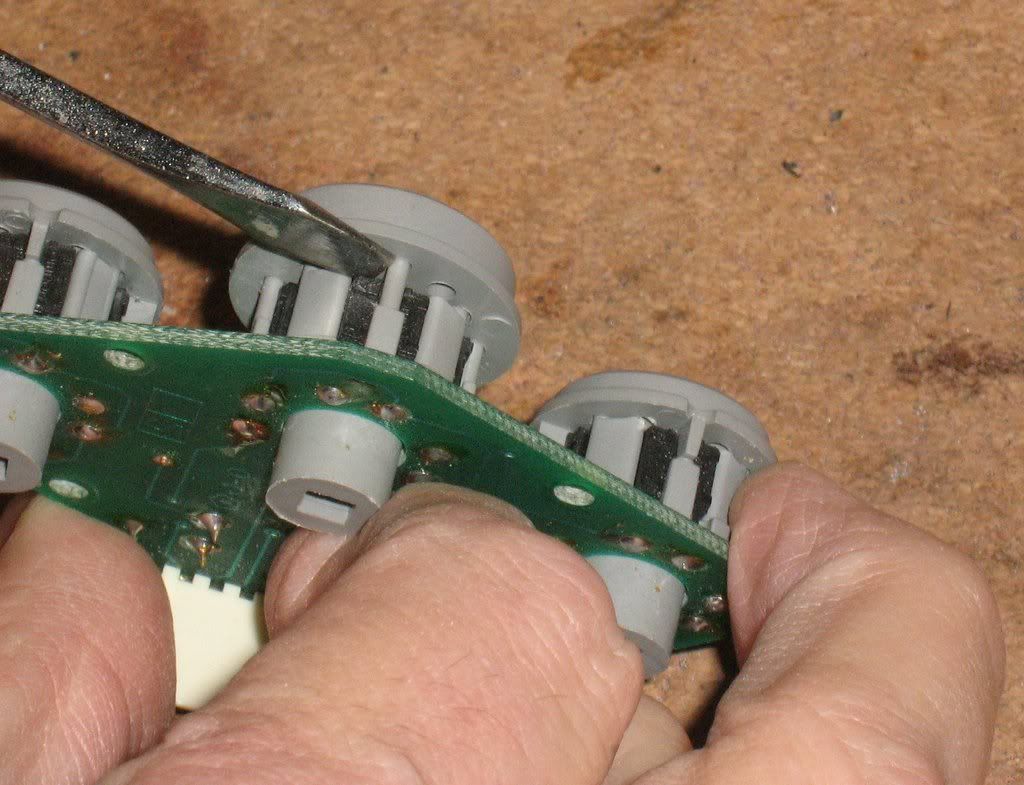
Once you've removed the cap, use a small sharp knife and carve a flat spot on the four posts that form the corners on the "square" the four switches make. These flat spots will allow the actuator to get further into the corners than it could before because of the wear.
In addition to carving the corner posts, you will also want to enlarge the hole in the cap you've removed. This will allow a little more travel for the actuator so it can get a little closer to the buttons. You can use a round file or a piece of sandpaper to run around the hole and make it a little bigger. Be careful not to take off too much material as all you really want to do is compensate for the wear on the actuator. It won't take a lot of material removal to accomplish that.
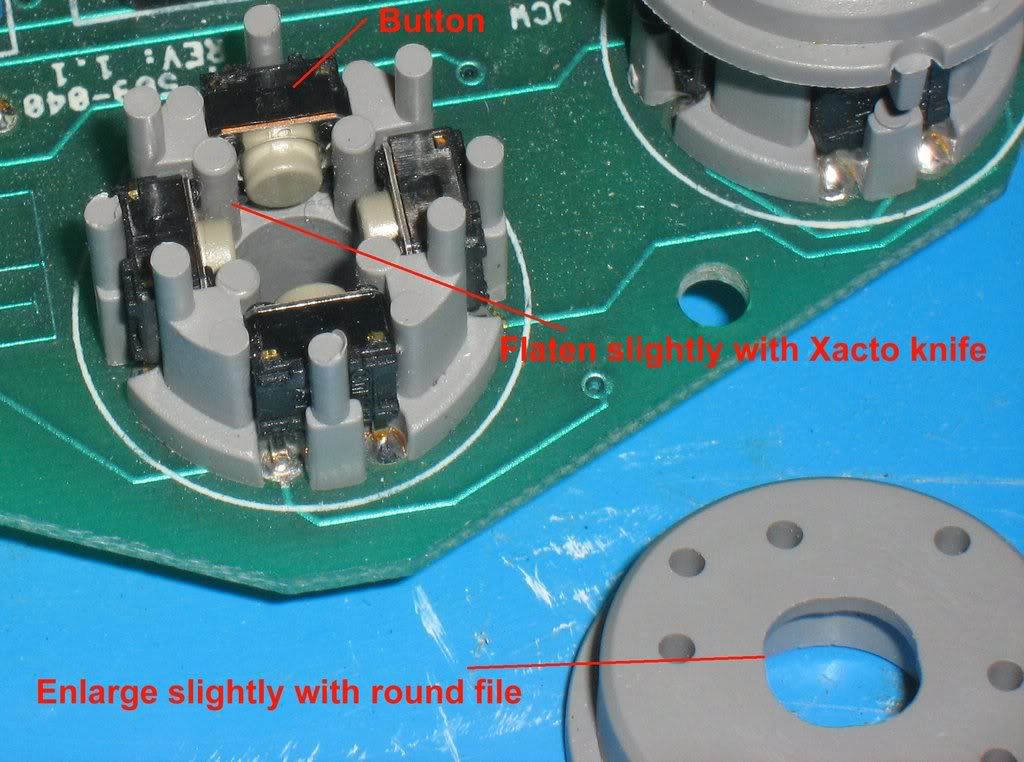
In most cases, that's all you really will need to do. It's unlikely that the switches themselves have gone bad but you could test them with an ohm meter while you have the cap removed from the assembly.
If it turns out that you do have a bad switch then you'll have to resort to some soldering. Fortunately, the four switches of a hat can be individually desoldered so that you don't have to pull the entire hat assembly to get one of them out.
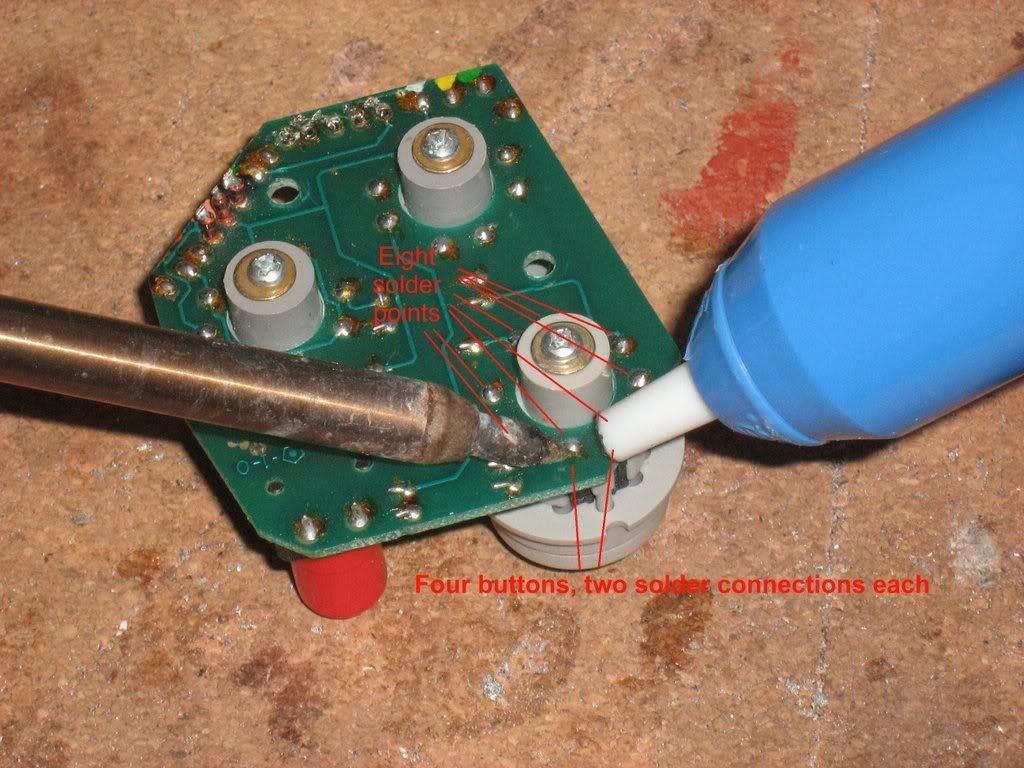
Once you've done the repair, you can check each hat switch for continuity using an ohm meter before you button things back up.
It is worth cannibalizing an old Gameport (analog) stick just for parts. Keeping a bag of switches, hats and pots in your desk drawer for repairs such as this is an important part of maintaining your equipment.