Guide To Configuring a CH Controller
The purpose of this guide is to try to prevent the "CH sucks!" and "CH is the worst stick I've ever had!" type threads from popping up in the forums. If you are the type of gamer who is used to ripping the shrink wrap off the box, plugging in your controller, and firing off your game, then this guide is for you as a new CH Game Controller owner.
A CH Controller is Not Quite PnP
Unlike some sticks (e.g. Saitek Cyborg Graphite, which does not even come with any drivers), you should not simply plug a CH controller in and start gaming. Though it may work just fine, you are likely to experience some problems. The most common complaints are an inability to get full travel out of the axes, non-linear stick movement, loss of calibration, and other related anomalies. A CH controller (such as a FighterStick) is a sophisticated device. If you just plug in a FighterStick, the operating system will choose a generic joystick device driver to control it. Though it may work and if you're lucky, work reasonably well, you are certainly not going to do as well as if you use a driver that is built specifically for the FighterStick.
The Generic Joystick Driver
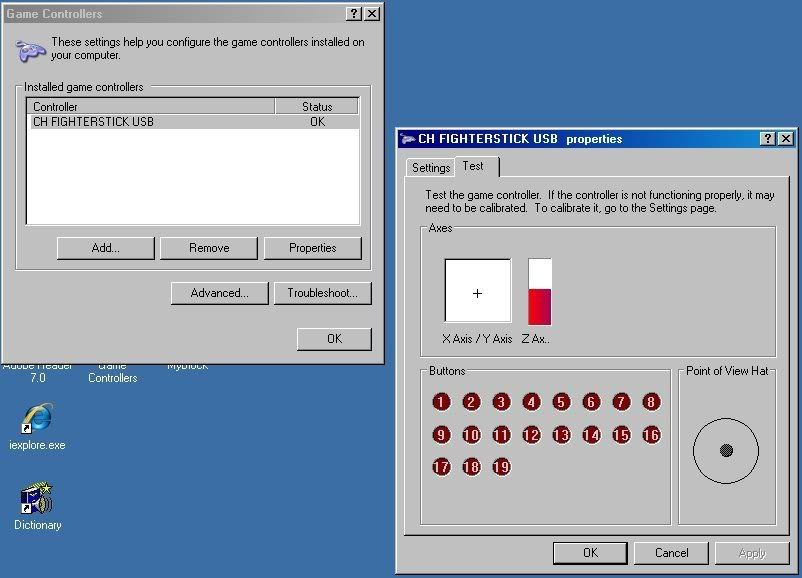
If all you do is plug your CH controller into the USB port and then bring up Windows Game Controllers, Windows will choose a generic joystick driver to control your stick. Here is what the generic driver will look like for the CH FighterStick:
Installing the CH Device Drivers
The CH device drivers are built into the
CH Control Manager Software that you can download from
here.
Control Manager (CM) is a very sophisticated program that provides a graphical interface for programming your CH device as well as a very powerful scripting language capable of making your stick do some amazing things. You can learn all about this fantastic program by registering and browsing through the many postings and articles found at the
CH Hangar. One of the best ways to get started learning how to use CM is by downloading the very fine
Control Manager For Dummies written by Ken King (531_Ghost).
You Do Not Have To Actually Use CM
Many guys do not want to bother learning how to use the Command Manager and so never install it. That's fine but it is a mistake not to at least install it. Because the CH drivers are installed only when you install CM, you'll end up using the Microsoft generic joystick driver unless you take the time to install CM. Now, just because you install CM, you don't have to use it anymore after that (but shame on you if you don't

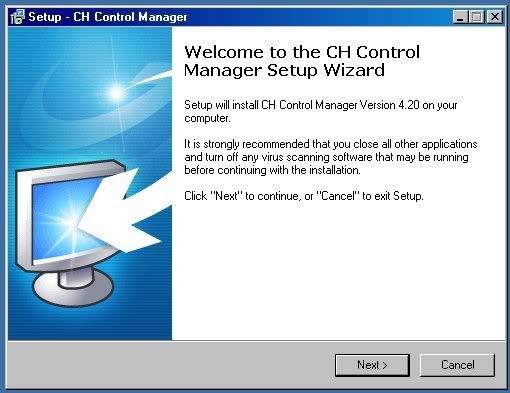
... ok, that's for another day). Once you've downloaded the latest version of CM (e.g. "Control_Manager_v4.2(32bit).exe"), simply click on the file in the file manager to start the install. This window will pop up:
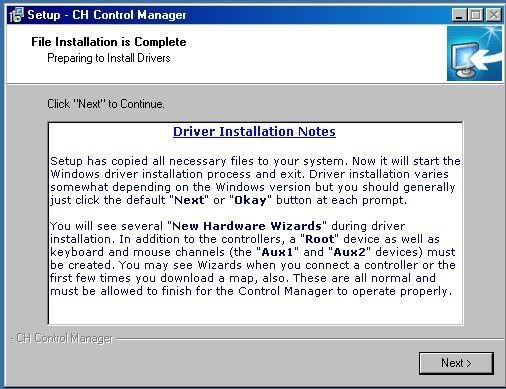
Once CM finishes installing, it will then prepare to install the device drivers for any and all CH controllers you may have (CombatStick, FighterStick, Pro Throttle, Pro Pedals, etc.). You will see this window explaining what to expect when the CH drivers are installed:
Don't Cancel the Wizards!
As the note says, several (seven for each CH device you have, to be exact) "New Hardware Wizards" will pop up during the installation. This is a bit startling the first time you encounter it. You may even think Windows has gone crazy (again

) and you might be tempted to cancel out of these wizards.
Don't do it! For each controller, Windows will find seven "devices" associated with each controller:
- Root device
- Aux1 device
- Aux2 device
- Keyboard channel
- Mouse channel
- Command Manager device
- The actual controller itself
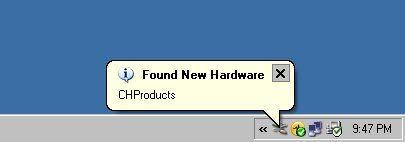
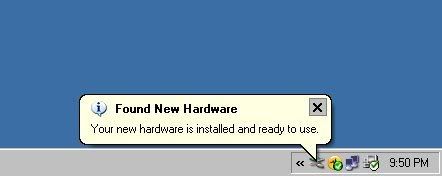
For each of these, a "Found New Hardware" balloon will appear in the System Tray:
It is important that you let each of these devices install completely else you may get unwanted behavior out of your CH controllers. Just click "Next" or "Ok" to all prompts. Do not "X" out or cancel at any point!
It's Not as Bad as it Seems
The good news is all these devices only have to install once. Unless you move your controllers around on different USB ports (this is safe most of the time but Windows can get confused), you should not see these device installs again. However, if you do, it is always safe to just Ok your way through them again.
It's All Done
You'll know when all the drivers are installed when you get this balloon:
The CH Driver
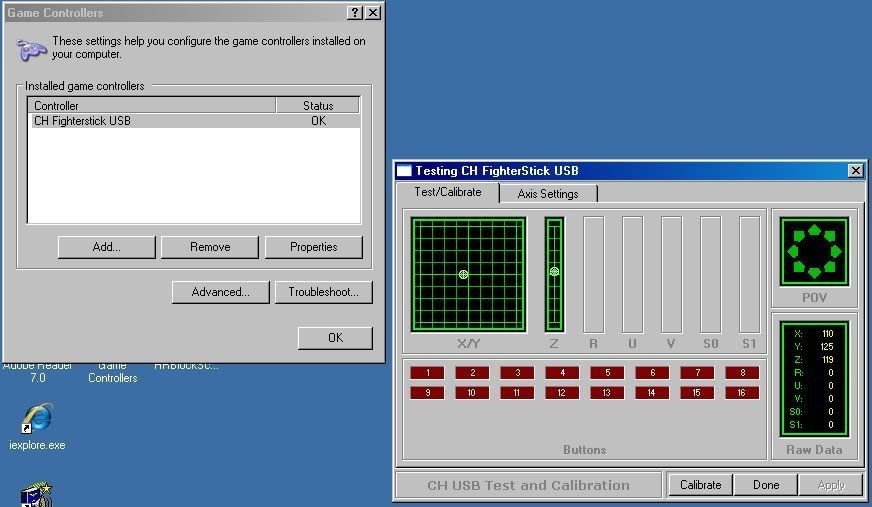
After installing the CH device drivers, you will notice that the Game Controllers interface looks very different from the generic driver. Here is what the CH driver looks like for the FighterStick:
You May Need To Calibrate in Two Places
Be sure to calibrate your device carefully by clicking the Calibrate button in Game Controllers (or Control Manager) and following the instructions. It is very important that you calibrate here before ever playing a game. Many games (such as Aces High) have their own calibration utility built in the game. This is not a substitute for the calibration you do in Game Controllers (or Control Manager). If your game has it's own calibration utility, you will need to perform two calibrations: one from the Windows level (Game Controllers) and one inside the game itself. If you fail to do both these calibrations, you will get strange behavior out of the stick movement.
Use a Good Power Supply
Be sure you use a good power supply with CH controllers. If your controllers have poor power, you can experience many of the sorts of problems you may see with the generic driver or uncalibrated devices. Many guys choose to use a powered USB hub (a hub that has it's own AC adapter) and plug all their CH controllers into it rather than use the USB ports on the computer itself. If you suspect that the USB ports on your computer are not as quality as they should be, you may want to invest in a good powered USB hub.
Those Trim Wheels, They Ain't
Those two dials near the gimbals of a CH stick are referred to in CH Products literature as "trim wheels." That's an unfortunate term because us aviation types can't help but think that means "aircraft trim" and we are tempted to try and use those wheels to trim our airplane. A better choice of term might be "pot trim wheels" or something like that. You see, this wheel is physically attached to the axis pot and can be used to center the pot (or equalize the travel of the pot to one side and the other). The problem with trying to use them for aircraft trim is once you've calibrated your stick and then you move one of these trim wheels, you throw off your calibration and it is very difficult to get the pot exactly where it was when you did the calibration. The precision of these wheels is not that great and just the slightest movement can throw the pot off quite a bit. It is my opinion that you carefully lock the trim wheels in their detent and never touch them again.
In truth, these trim wheels are a bit of a hold-over from the Gameport days where centering the pot was a legitimate issue. Because of the way USB devices are designed, this is not that much of an issue anymore. It is very rare that these USB sticks need any sort of pot trimming.
